
Nutanix Community Edition is the Free version of Nutanix OS which can be used to test drive the main features of Nutanix, it can be deployed on existing hardware in the infrastructure or in the Virtual Machines
Nutanix CE Components:
- AHV (Acropolis Hypervisor )
- Nutanix Prism ( Nutanix Management Plane)
- nCLI
- Single or Multi-Node Cluster
Nutanix CE Limitation:
- Internet Access on the Cluster
- Nutanix Next Account for activation
- Must upgrade within 30-Days or once the upgrade is available
Let’s start with the setup by step hand-on
- Download the Nutanix CE Binaries from Nutanix Portal

Browse Nutanix Community link

Download Nutanix CE Installer ISO. Once installer downloaded we can proceed with the Virtual Machines creation.

Proceed with the Typical VM Creation and click next.

Browse the Nutanix CE Installer and Click Next

Select CentOS 64Bit as OS and click next

Specify the VM Name Click Next
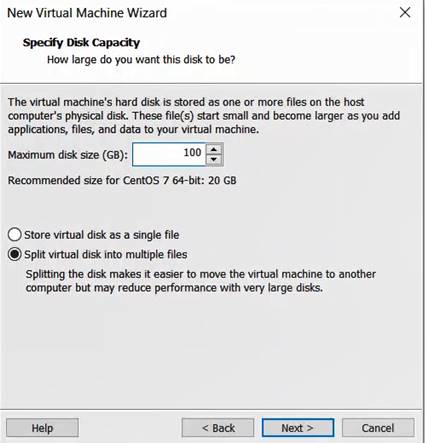
Specify the disk Size and click Next

Review the VM Hardware setting & add additional 2 HDD ( 1 for Hypervisor, 2nd for CVM, 3Rd for DATA) and Virtual Machines memory should be at-least 24G.
Power -On the VM and boot VM from ISO Installer

Specify the desire Hypervisor, Select the VM disks as per the requirement and Specify the IP Address details for Hypervisor & CVM and proceed next.

Accept the license agreement (Make sure to scroll down the license till end) and start the installation.

Installation will take approx. 30-40 mins, once installation completes disconnect the installer ISO and press Y to reboot the VM.

Once the VM boots, you can see Nutanix Prism is accessible, below are the default user name & Password for Nutanix
| User | Password | |
| AHV | Root | nutanix/4u |
| CVM | Nutanix | nutanix.4u |
| Prism | admin | nutanix/4u |

Enter the Nutanix Next account and click à , incase if you don’t have the Nutanix next account you can create one.
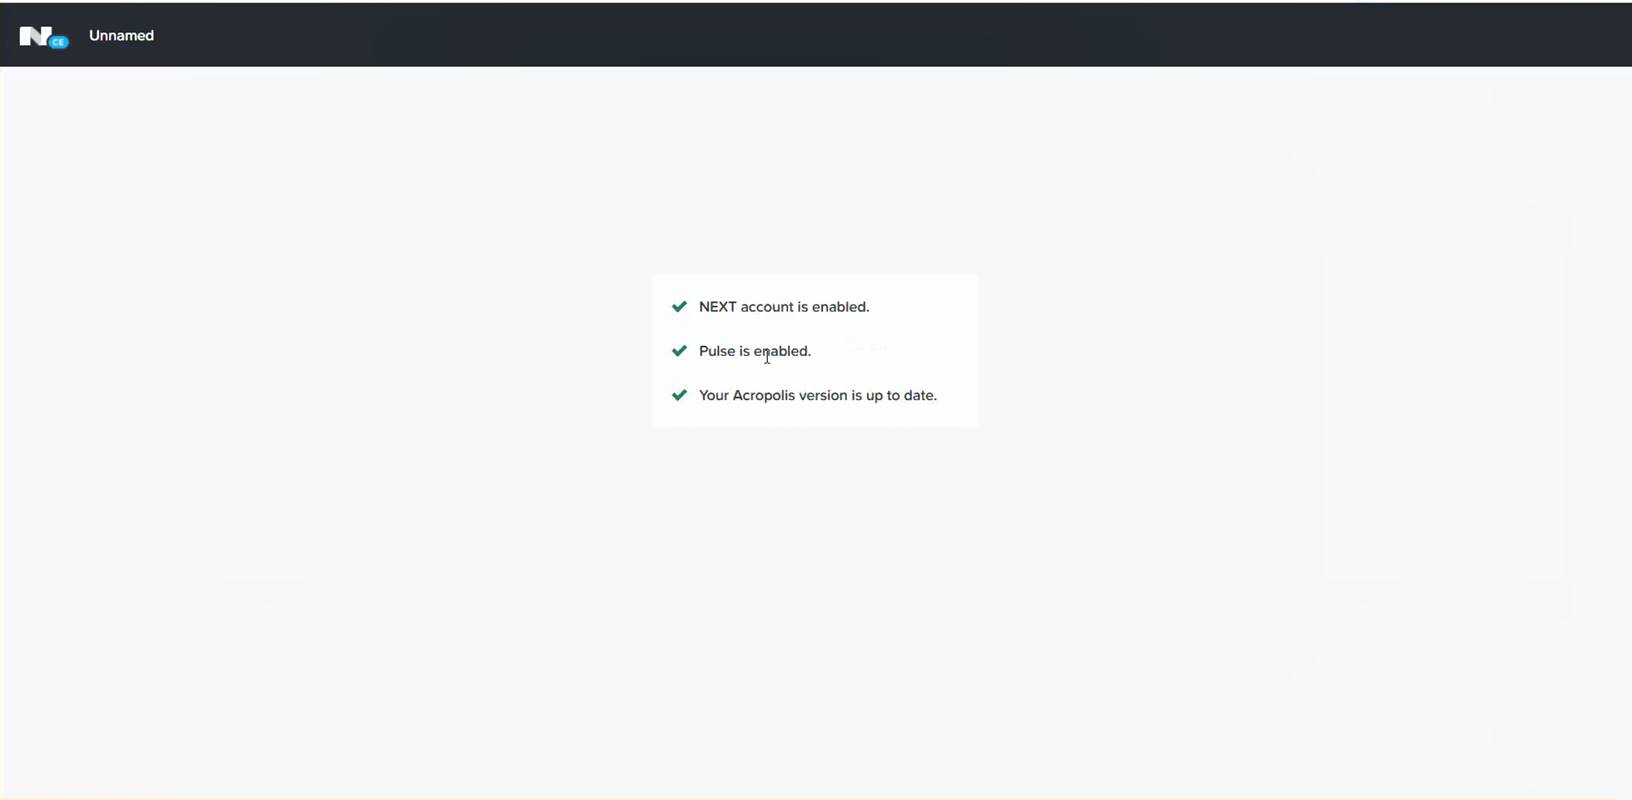
Cluster is register and page will be redirected to home page
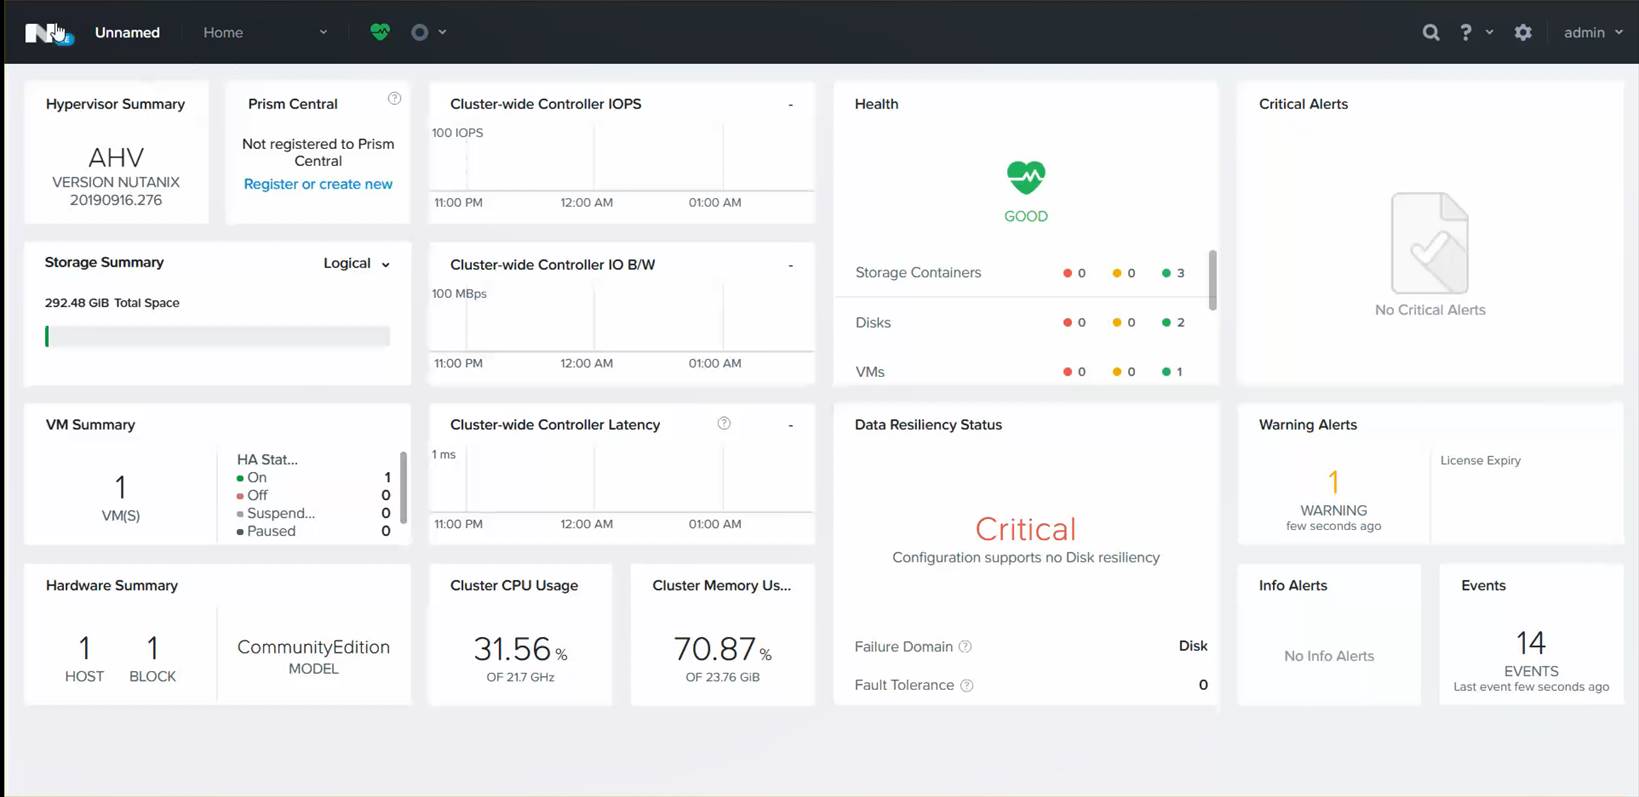
Initial Cluster setup is completed, enjoy Nutanix Simplicity 😊
