
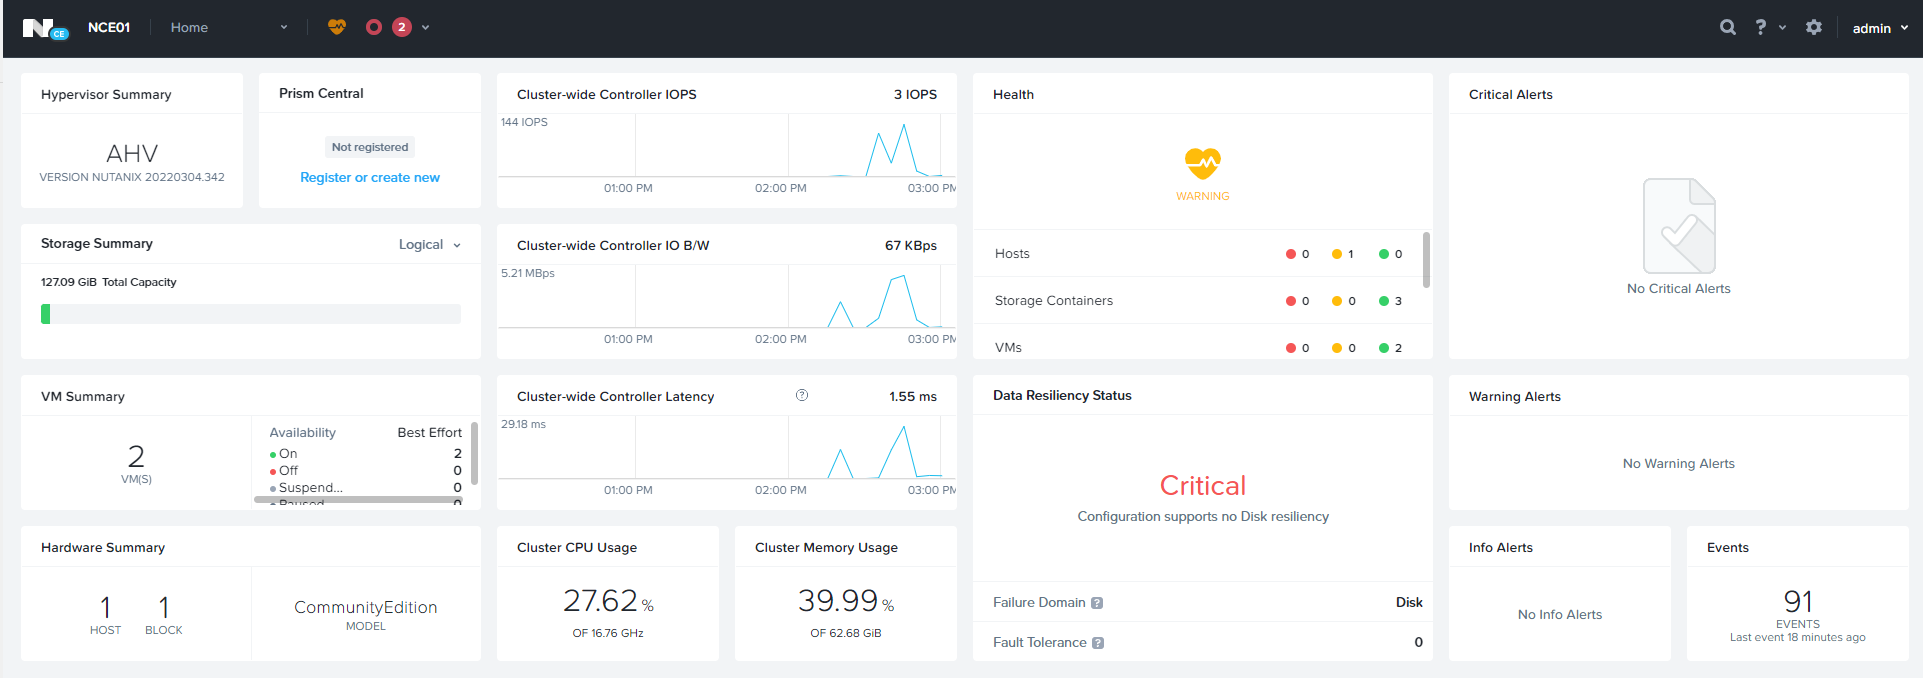
In this article we will discuss Legacy Nutanix Data Protection.
LAB Environment: 2 X Nutanix CE Single Node Cluster
Login to Primary Cluster: https://CVM_IP:9440
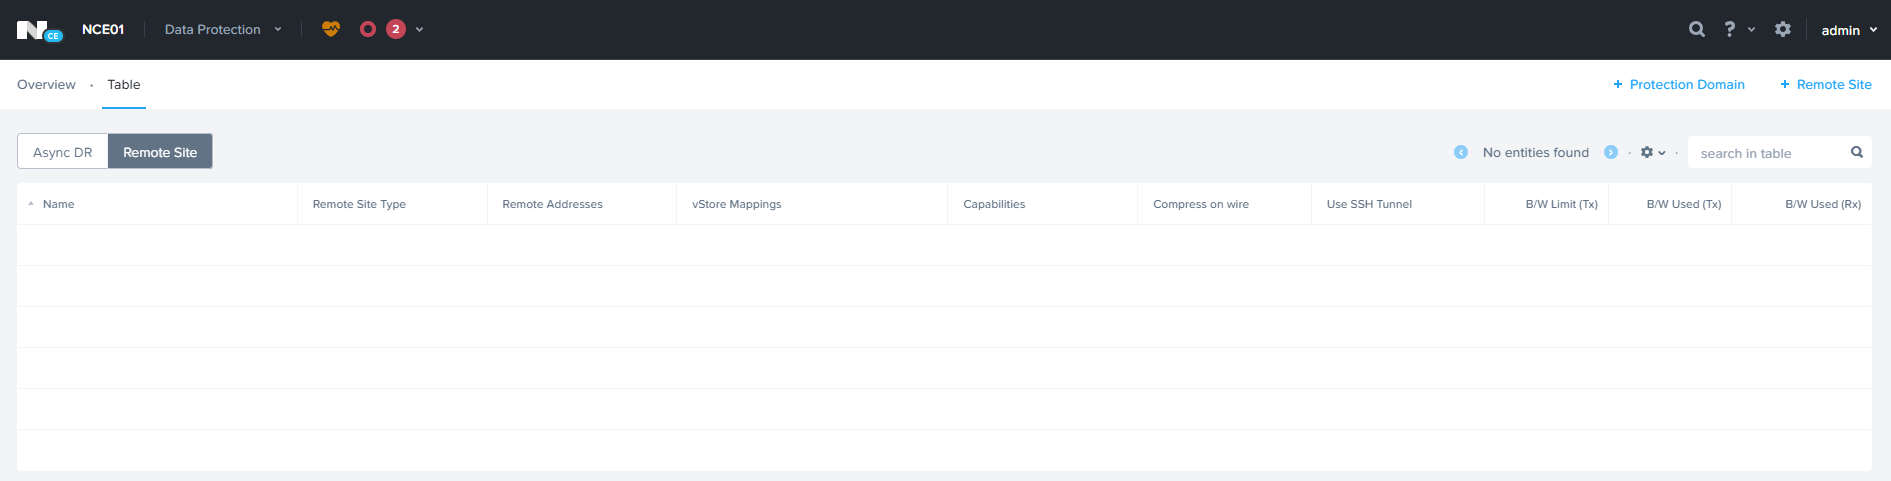
Data Protection

Click on Table View — > Remote Site
Click Remote Site à Physical Cluster

Enter Remote Site Name & Remote Cluster IP

Specify the Source & Target Network Mapping and Datastore Mapping and click Save.
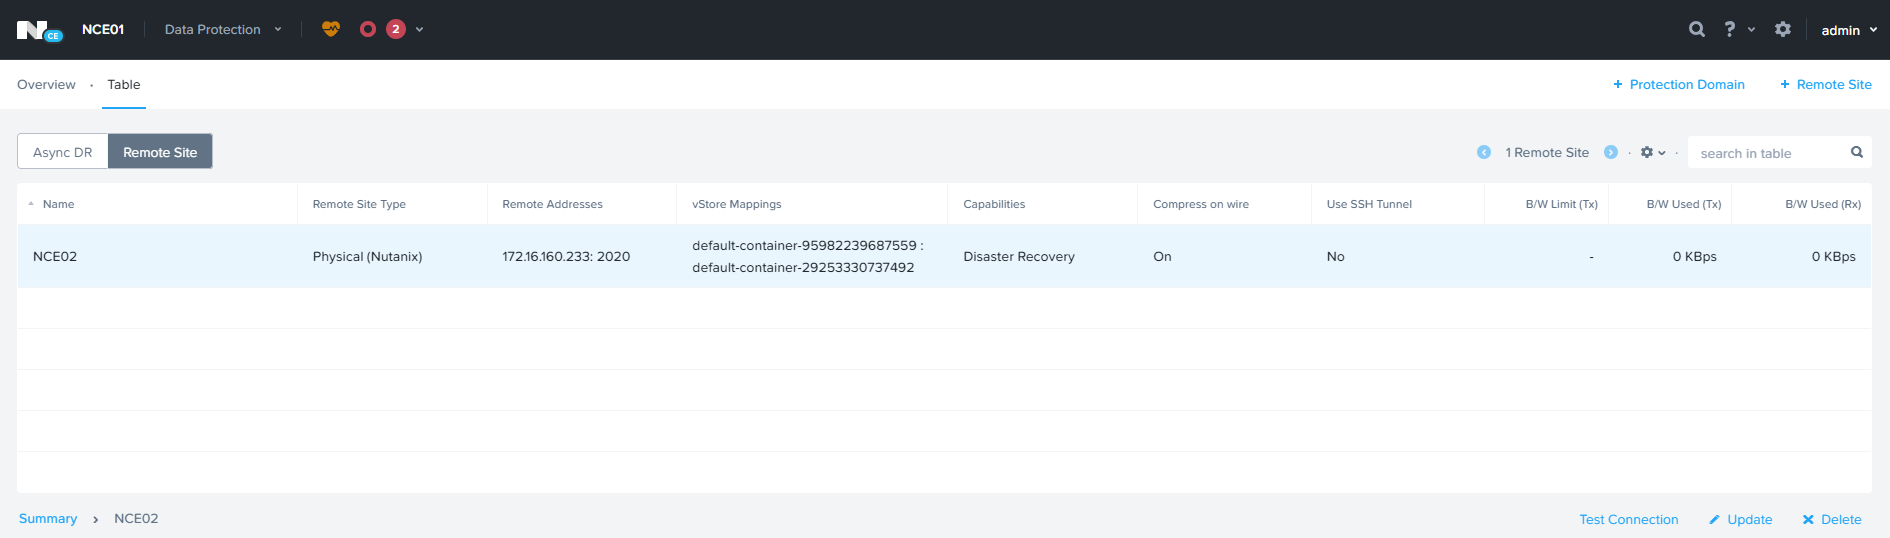
ADD remote Site on the 2nd cluster.
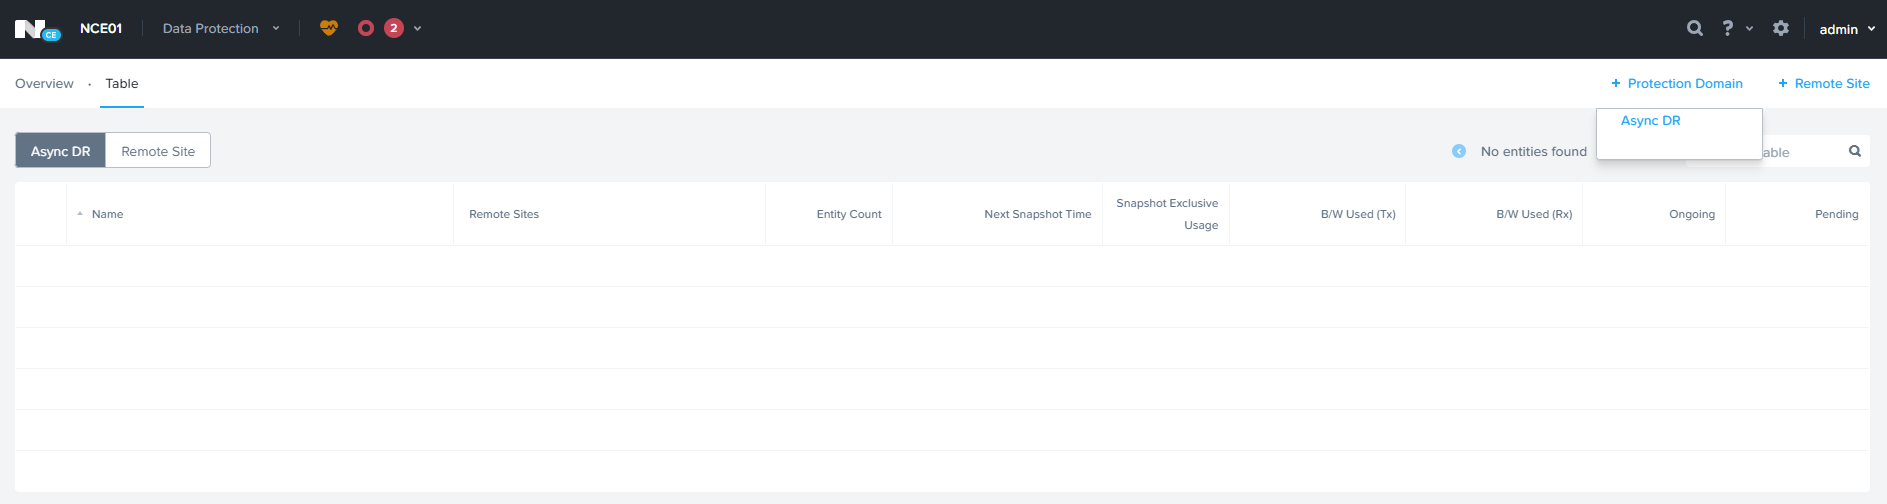
Click Protection Domain — > Async DR
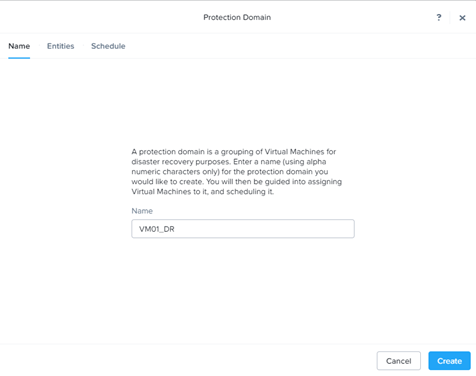
Click Create
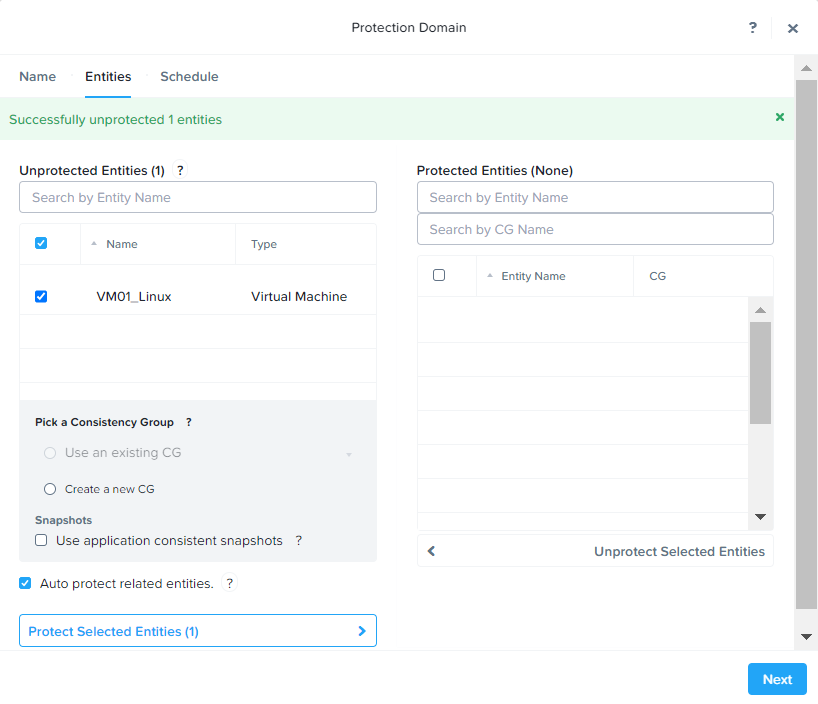
Select VM and Click Protect Selected Entities to add for protection.

Click Next to Continue

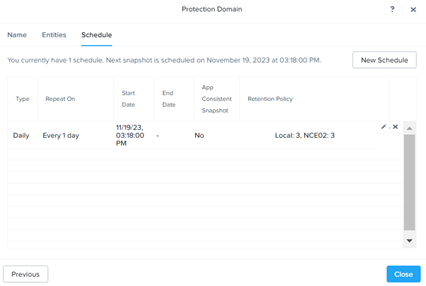
Click New Schedule to add the Schedule.

Specify the Snapshot frequency & Retention policy for local & Remote Cluster
Click Close

Planned Failover:
From Active Site, Select the Protection Domain — > Migrate
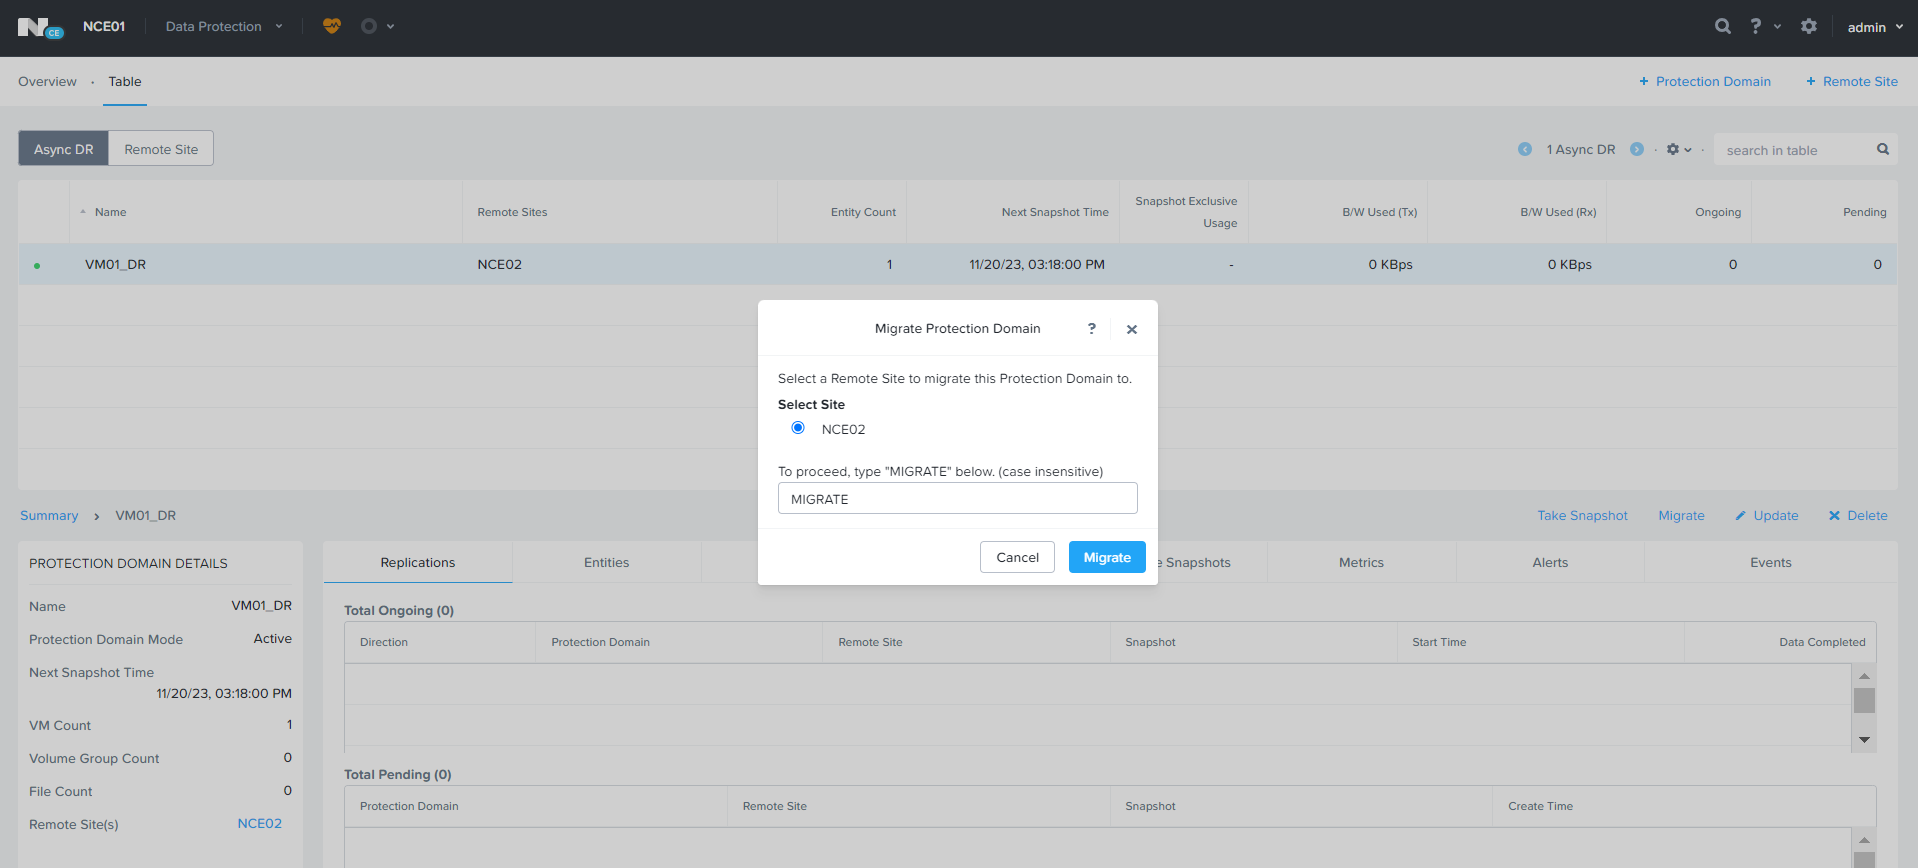
Type Migrate and Click Migrate for Migration.

Migration Task will be created, it will take 1-2 minutes to complete. During the process VM will be shutdown from active site and deregistered from active site and registered to the Remote Site.

Initally Active on NCE01 Cluster

Migrated to NCE02
