
Veritas NetBackup Supports Nutanix AHV Virtual Machines Backup. In the below article will discuss how we can integrate Nutanix & Veritas NetBackup.
- Confirm NetBackup & Nutanix AOS Compatibility.https://download.veritas.com/resources/content/live/OSVC/100046000/100046445/en_US/nbu_100_scl.html?__gda__=1700526274_031b706c04f3bbd134e1494e6a6899e0#virtual_systems_compatibility-nutanix_aos_versions_and_backup_host

- Before proceeding, some of the key points need to be considered. If NetBackup Environment is based on Windows, then in this case, we must introduce one Linux Media Server. Otherwise, any existing Linux Master/Media Server can be used as AHV Backup host.
- If Single File/Folder restore is desirable then we need to configure Backup using New Nutanix WebUI only.

Establishing communication between NetBackup and Nutanix AHV
- The NetBackup master server, media server needs to establish communication with the Nutanix Acropolis cluster through a backup host to complete a backup or restore job.

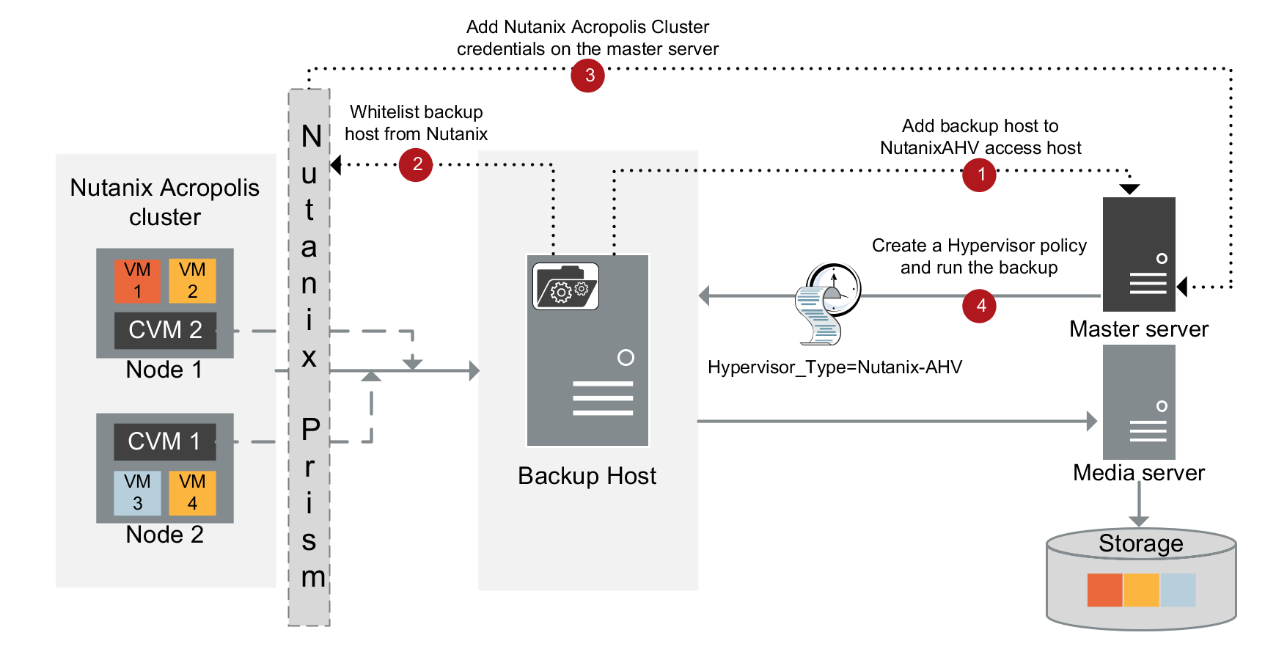
Configuring communication between the Nutanix Acropolis Hypervisor server and NetBackup host
we can go with secure or unsecure communication for the backup.
- Unsecure communication between Nutanix AHV & NetBackup Host.
Disable SSL Validation in nb_nutanix-ahv.conf
/usr/openv/netbackup/nb_nutanix-ahv.conf
{ “enable_ssl_validations”:false, “cert_authority_file”:””}
Default is True to keep SSL enabled, False to disable SSL
- Secure communication between Nutanix AHV & NetBackup Host.
- Use the openssl s_client -connect <Nutanix Cluster FQDN>:9440 -showcerts < /dev/null command from a Linux system to obtain the Nutanix certificates.
- Scroll to the end of the results and copy the last certificate which starts from:
—–BEGIN CERTIFICATE—–
<Certificate>
—–END CERTIFICATE—– - Paste the information to a text file and then rename it as <certificate file name>.pem and copy it to a path to your backup host. Recommended path “/usr/openv/netbackup”
- Enter the PEM file path ECA_TRUST_STORE_PATH=/usr/openv/netbackup/<certificate file name>.pem in the bp.conf on the backup host.
| Use the nbsetconfig command to configure the following NetBackup configuration options on the access host. ECA_TRUST_STORE_PATH |
Specifies the file path to the certificate file that contains all trusted root CA certificates. |
| ECA_CRL_PATH | Specifies the path to the directory where the certificate revocation lists (CRL) of the external CA are located. |
| VIRTUALIZATION_HOSTS_SECURE_CONNECT_ENABLED | This option affects AHV, RHV, and VMware secure communication. Without this option, each workload and plug-in separately determine the secure or the insecure communication.Disabling this option lets you skip the security certificate validation. It is recommended by NetBackup that secure communication should be enabled using the ECA_TRUST_STORE_PATH option. |
| VIRTUALIZATION_CRL_CHECK | Let you validate the revocation status of the virtualization server certificate against the CRLs. By default, the option is enabled. |
Whitelist NetBackup backup host IPs on Nutanix.
Adding Nutanix Cluster in NetBackup Console
- Login to NetBackup WEBUI Console
https://localhost/webui
Create AHV Protection Plan:
- Create Protection plan for AHV Backup, Protection à Protection Plan
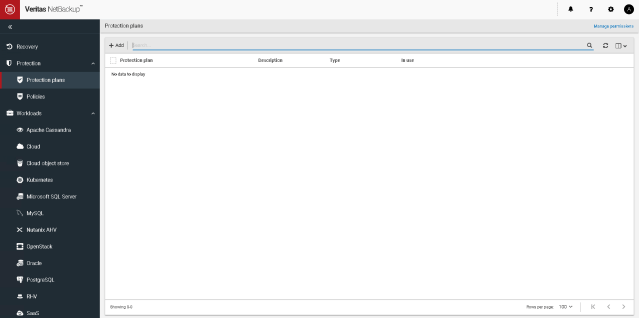

- Click Add to add the new Protection plan.
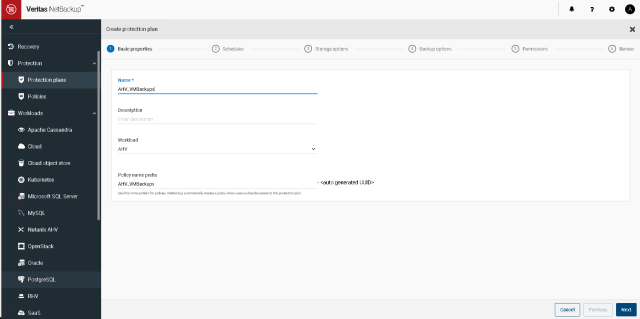

- Specify the Protection Plan, Select the Workload and Click Next


- Create the Desire backup schedule & Specify the Backup retention.
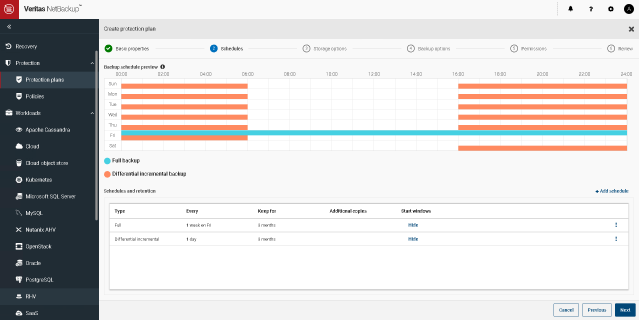

- Click Next to continue.


- Specify the Backup Destination Storage and click Select to continue.
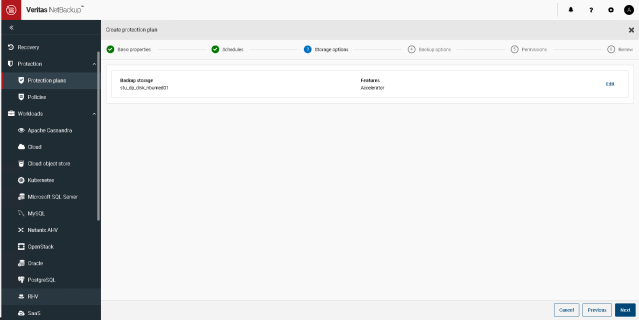

- Click Next to Continue

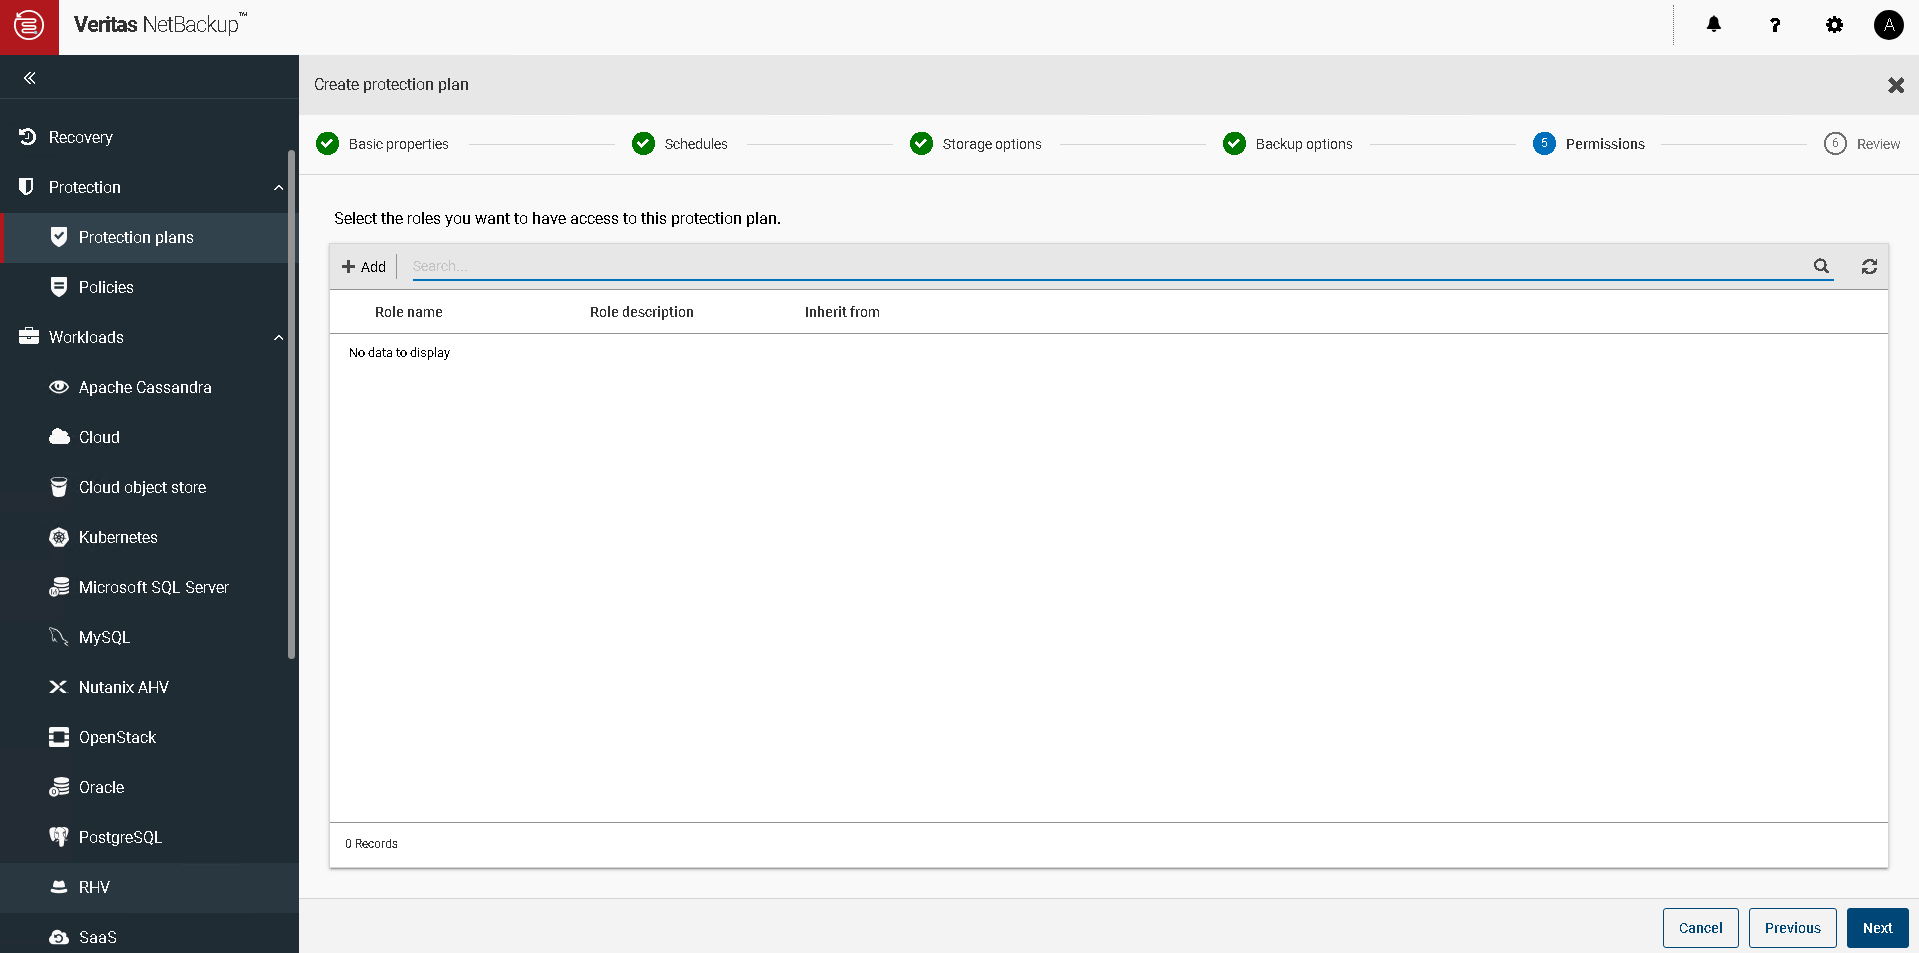
- Specify the user if you want to enable the RBAC
- Click Next to Continue, review the configuration and click Finish.
Add AHV Cluster:
- Expand workload à Nutanix AHV

- Click on AHV Cluster to add the AHV Cluster


- Click Start

- Specify Nutanix Cluster IP, Specify Backup host and add a new credential.

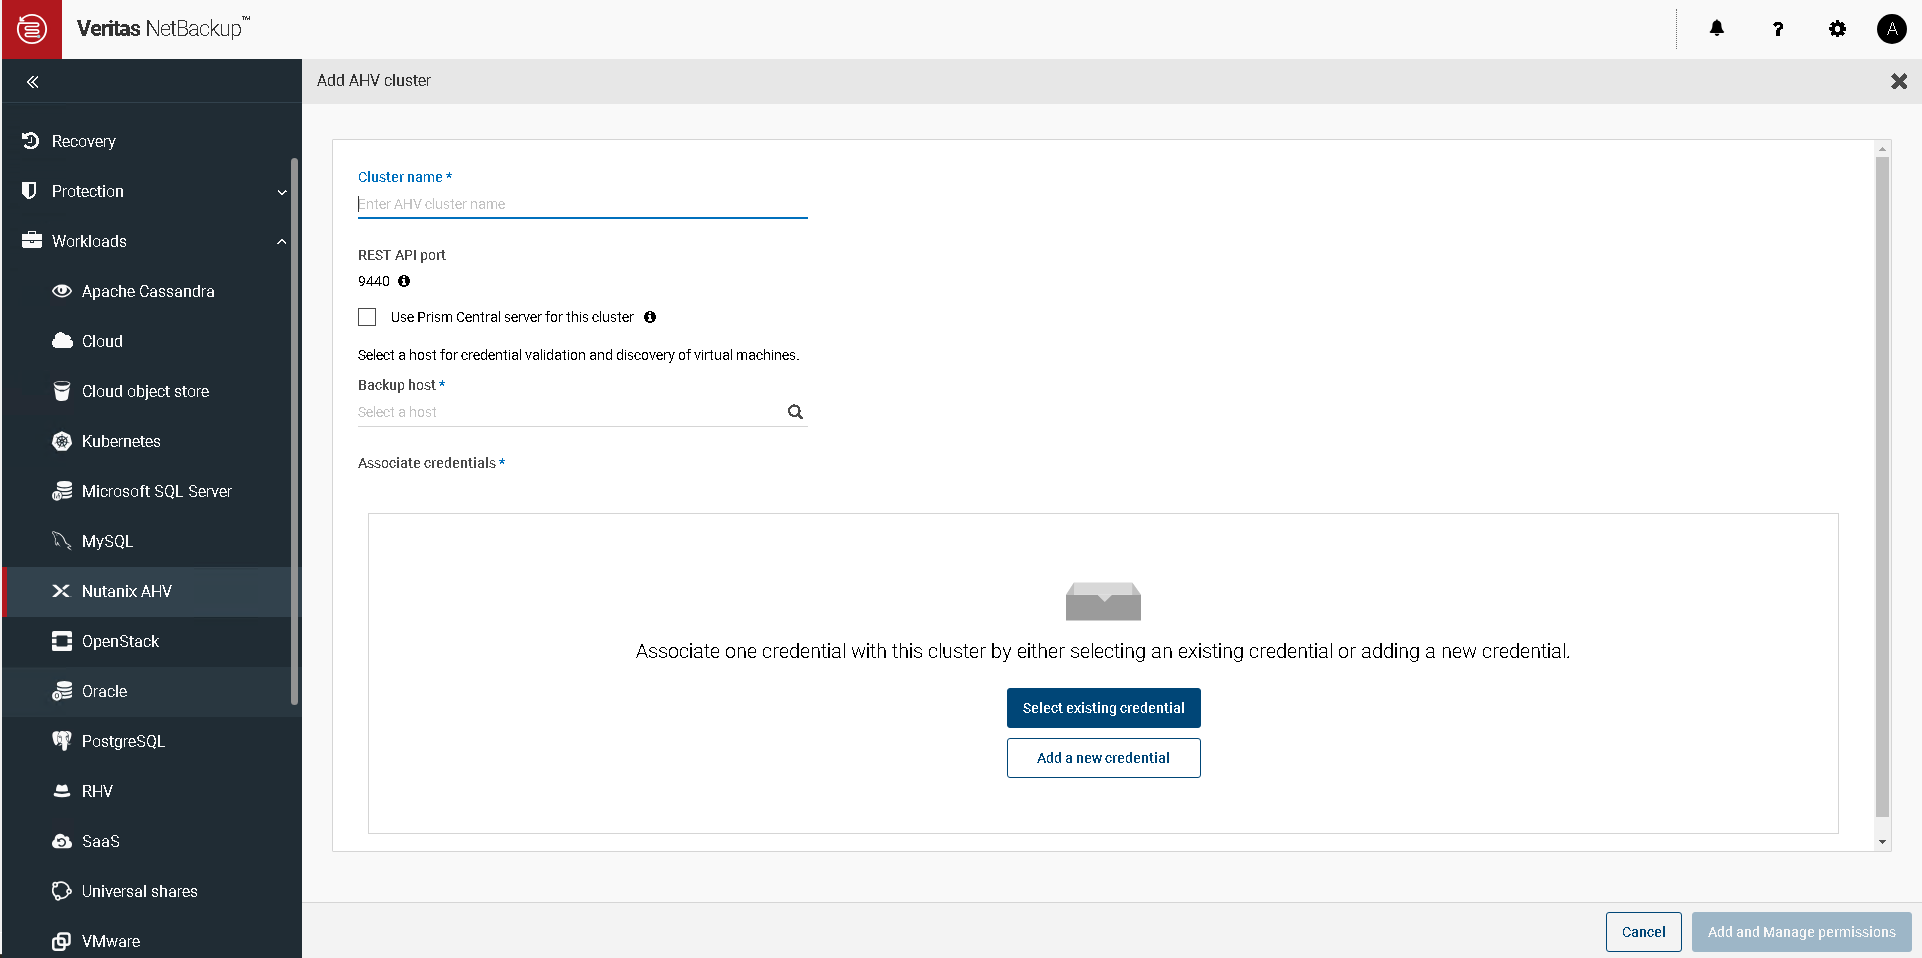
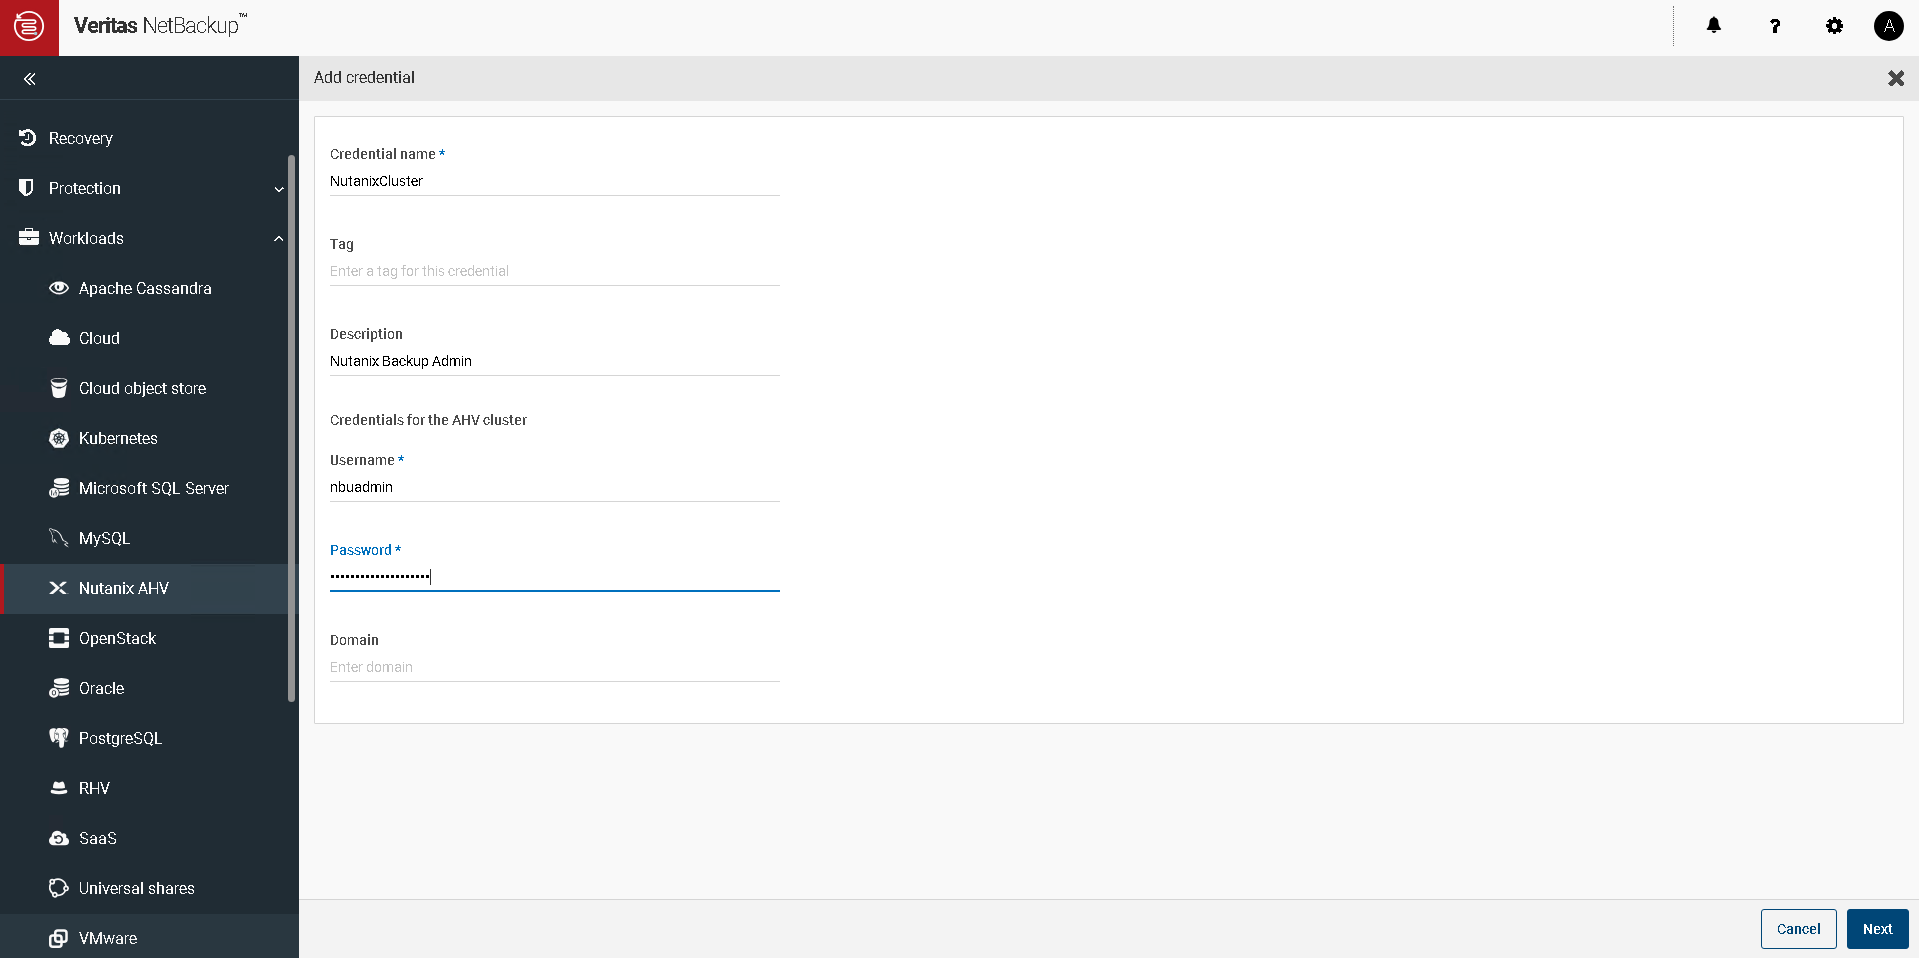
- Specify the Credential name, username, password for Nutanix Cluster and click next

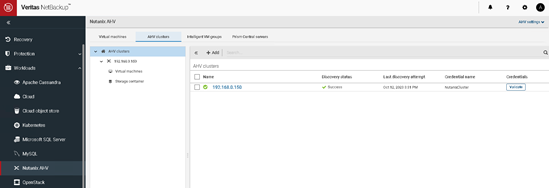
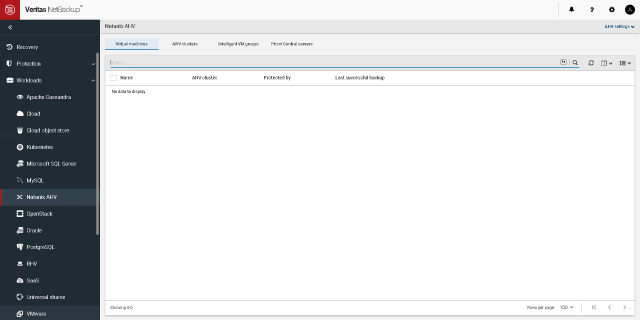
- AHV Cluster is added in NetBackup & AHV VMs will be discovered under Virtual Machines Section.
Assign AHV VMs to Protection Plan:
- Workload à Nutanix AHV à Virtual Machines

- Select Virtual Machine and click Add Protection to assign VM to Protection Plan.
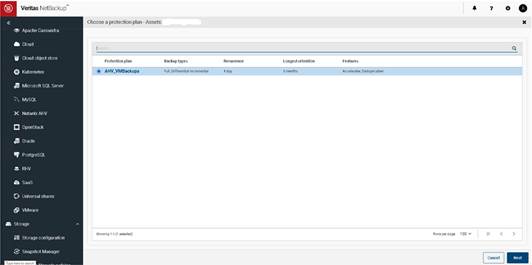
- Select Protection Plan and click Next to continue.

- Click Close


