
Nutanix Move is a cross-hypervisor migration tool to migrate Virtual Machines workload to Nutanix & File Server to Nutanix Files. Below are the Supported Migration scenarios.
- VMware ESXi (legacy infrastructure or Nutanix) to AHV
- VMware ESXi (legacy infrastructure or Nutanix) to VMware ESXi on Nutanix
- VMware ESXi to Nutanix Cloud Clusters (NC2) on AWS
- VMware ESXi to NC2 on Microsoft Azure
- Microsoft Hyper-V to AHV
- Microsoft Hyper-V to VMware ESXi on Nutanix
- Microsoft Hyper-V to NC2 on AWS
- AWS EC2 to AHV
- AWS EC2 to VMware ESXi on Nutanix
- AWS EC2 to NC2 on AWS
- Microsoft Azure Cloud to AHV
- Microsoft Azure Cloud to VMware ESXi on Nutanix
- Microsoft Azure Cloud to NC2 on Azure
- Nutanix AHV to Nutanix AHV
- Nutanix AHV to AWS EC2
- Nutanix AHV to Microsoft Azure Cloud
Nutanix Move Can be downloaded from the link below.
https://portal.nutanix.com/page/downloads?product=move
Move VM Specifications:
- vCPU: 2
- Memory: 8GB
- Storage: 50G
Move VM initial Configuration:
Create VM based downloaded Move OS image.

Login to Move VM with default credentials
- User: admin
- Password: Nutanix/4u
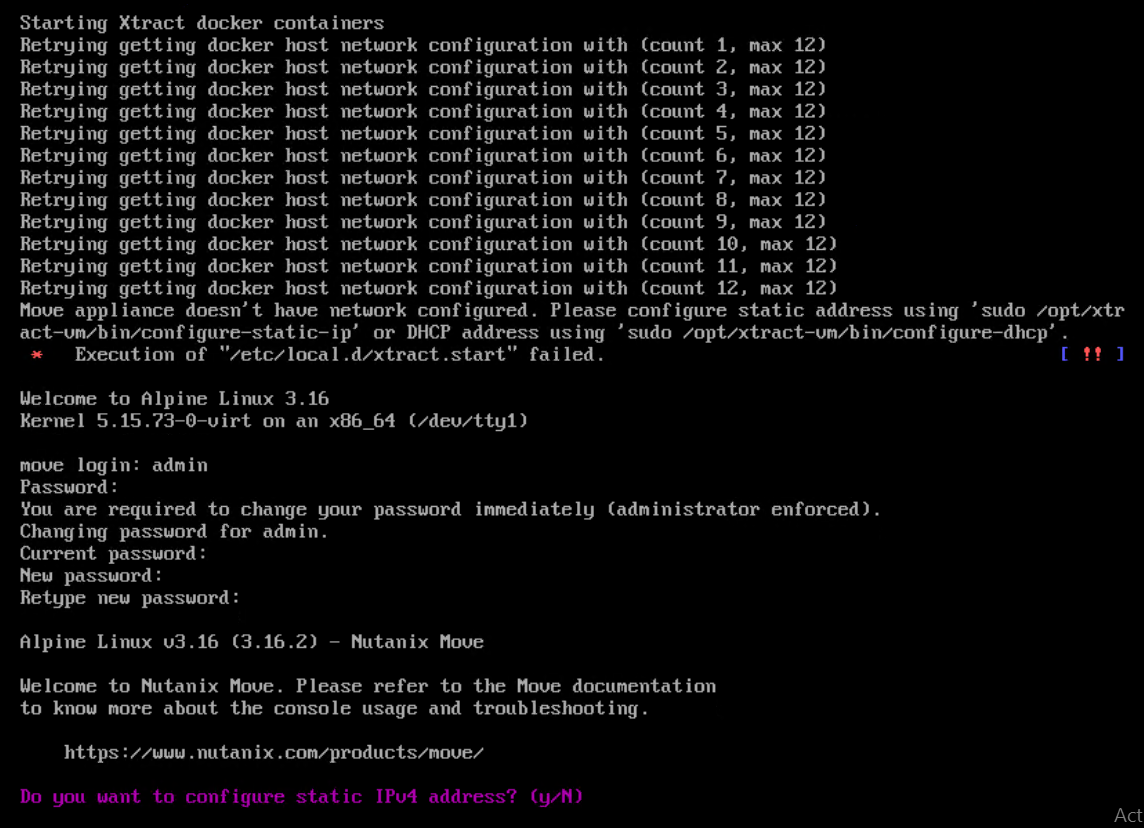
If you want to configure Static IP, press Y and enter.
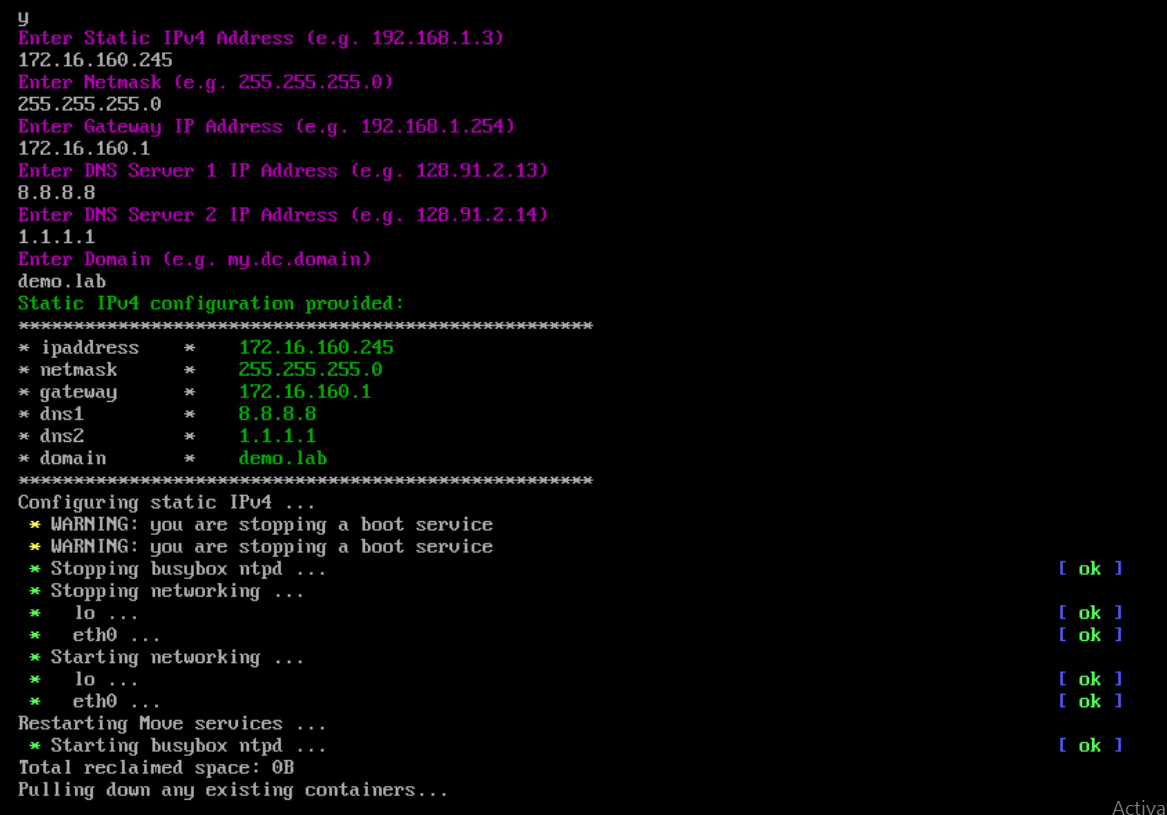
Specify the IP Adress, Netmask, Gateway, DNS and domain and enter. Once IP is configured. Move can be accessible from any web browser.
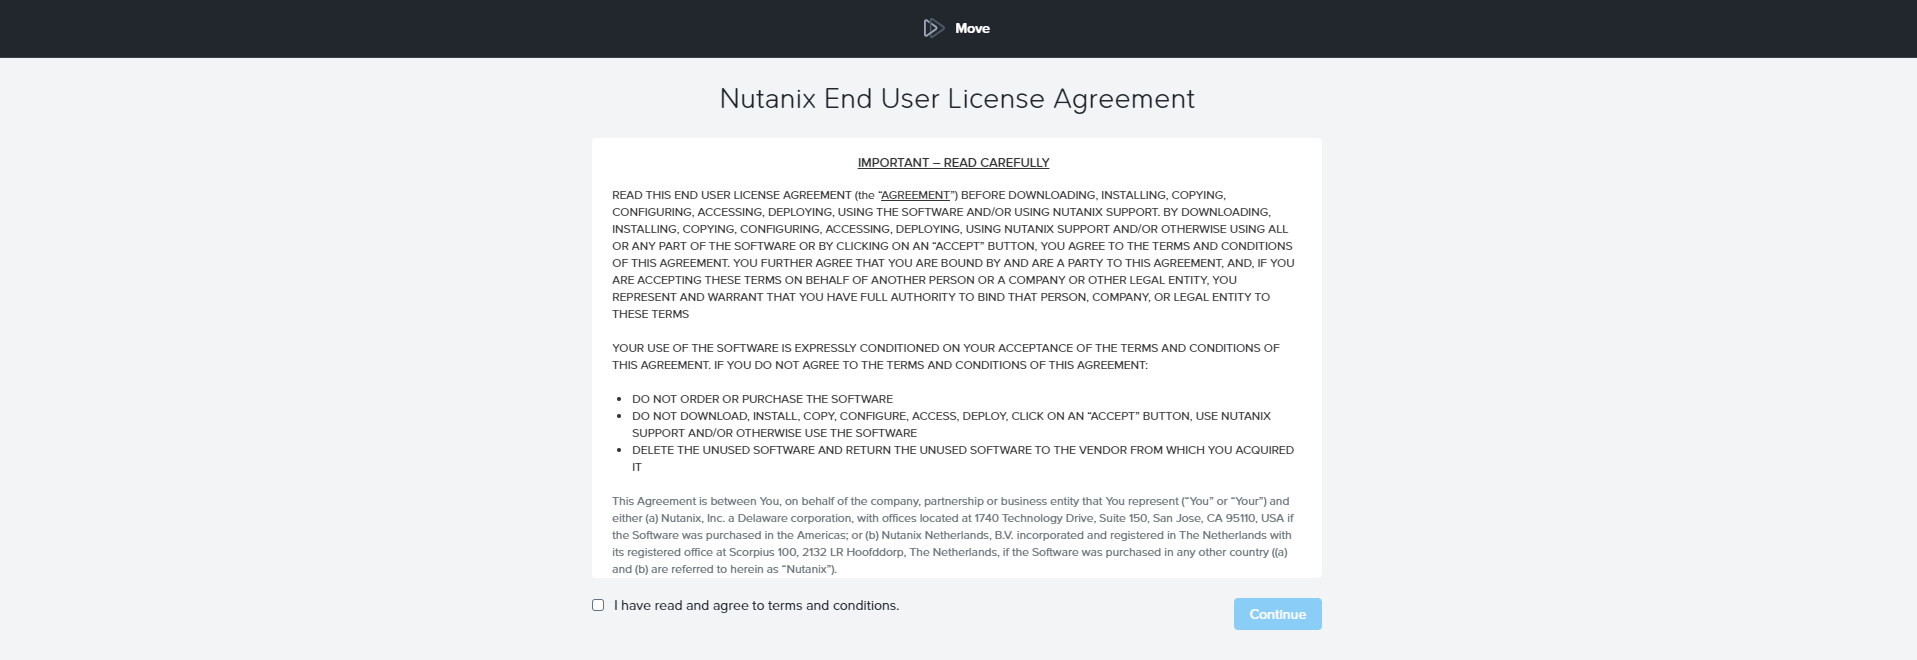
Accept the license agreement and click continue

Set Web password
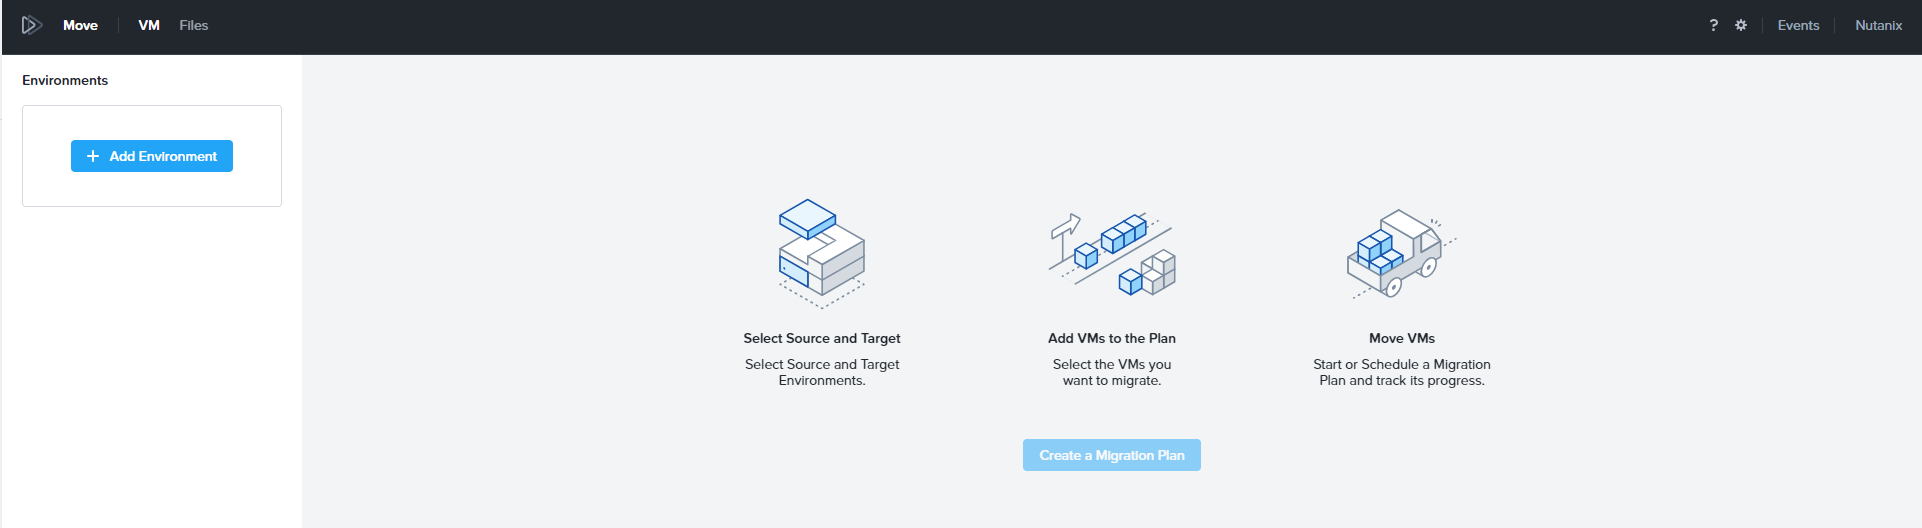
Add Environment Information

Select the Source Environment (VMware / Hyper-v / Azure etc)
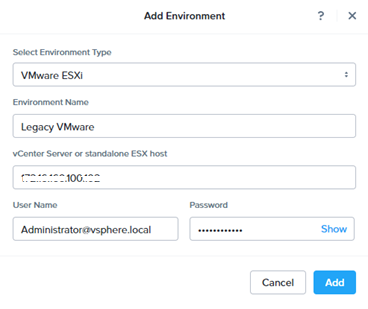
Provide environment name, IP address, Username , Password and click add
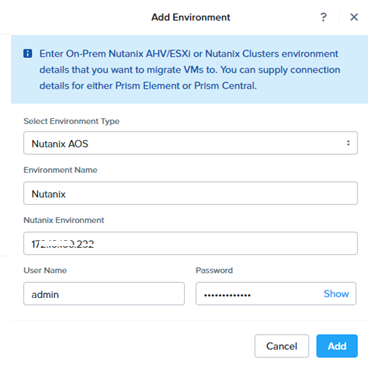
Nutanix Target (AHV /VMware) will be added as Nutanix AOS. Provide Nutanix Cluster IP, username and password and click ADD.
Create Migration Plan
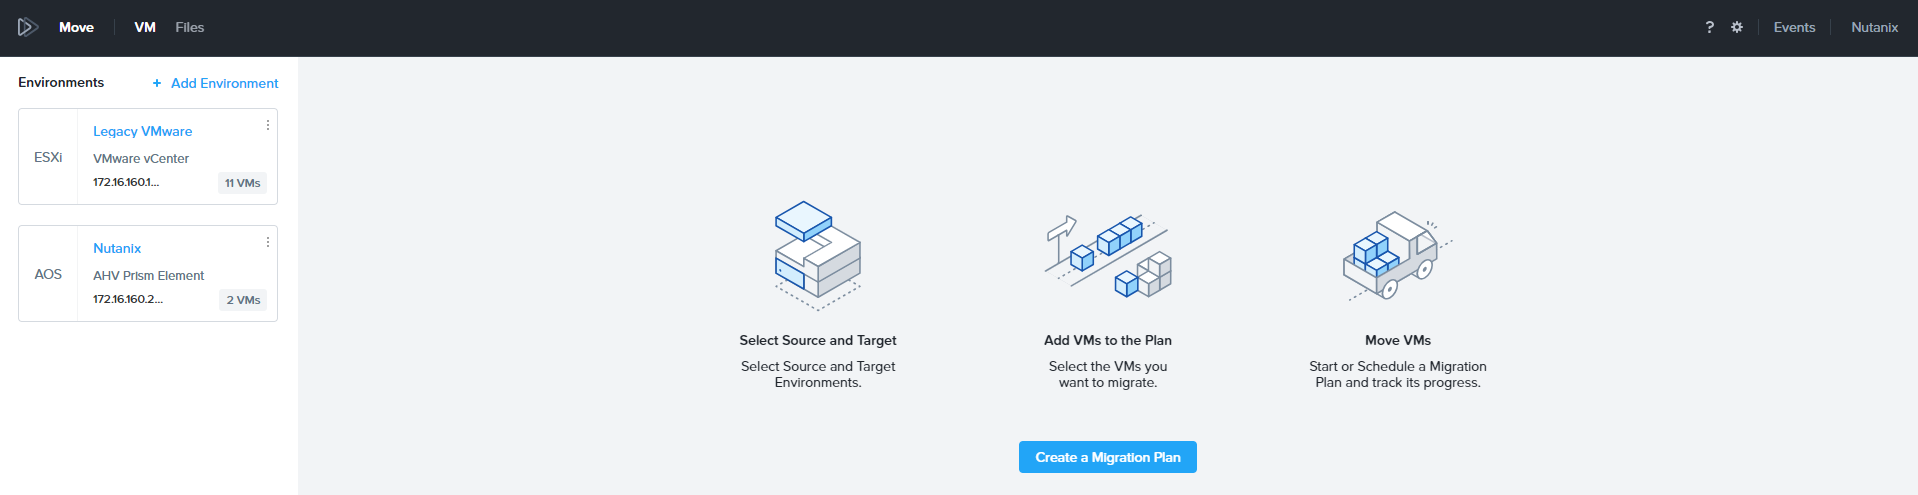
Click Create a Migration Plan.
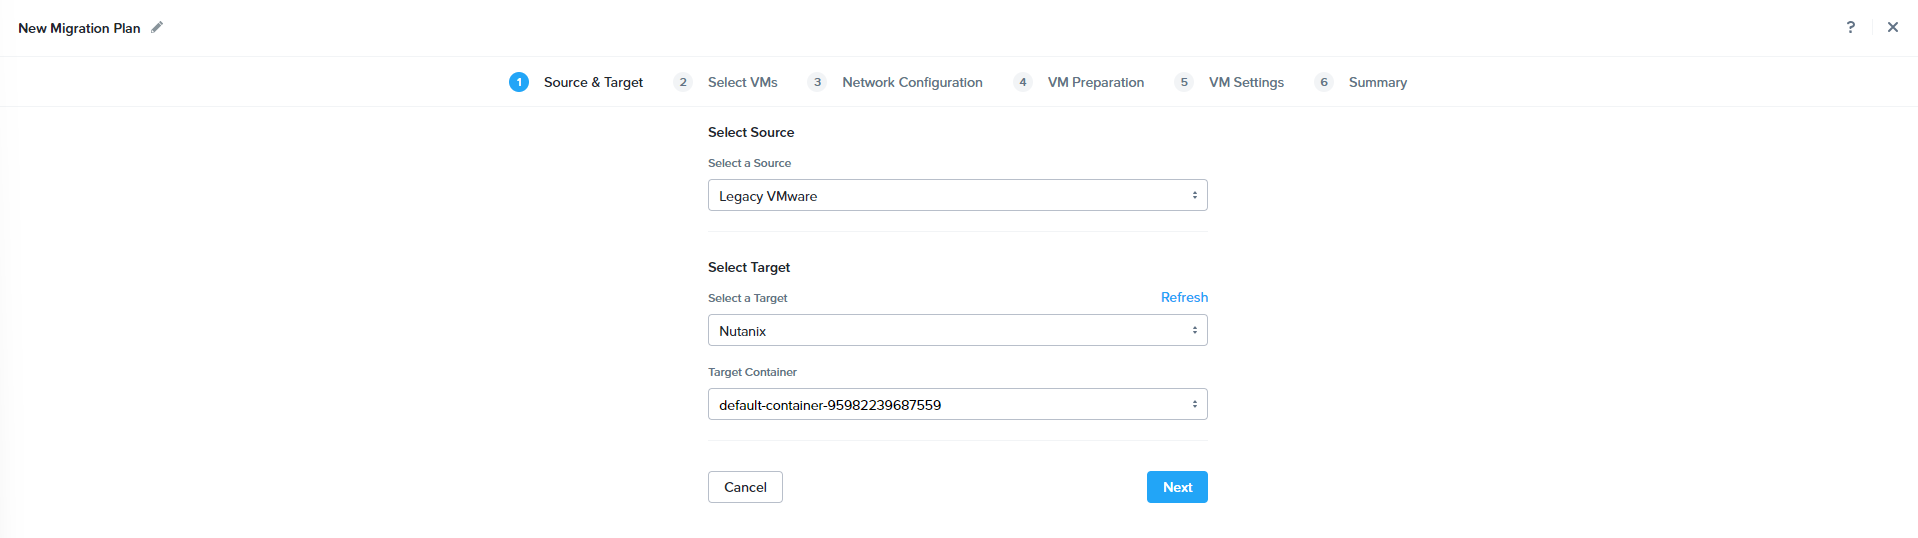
Select the Source , Target and Target Container and click Next
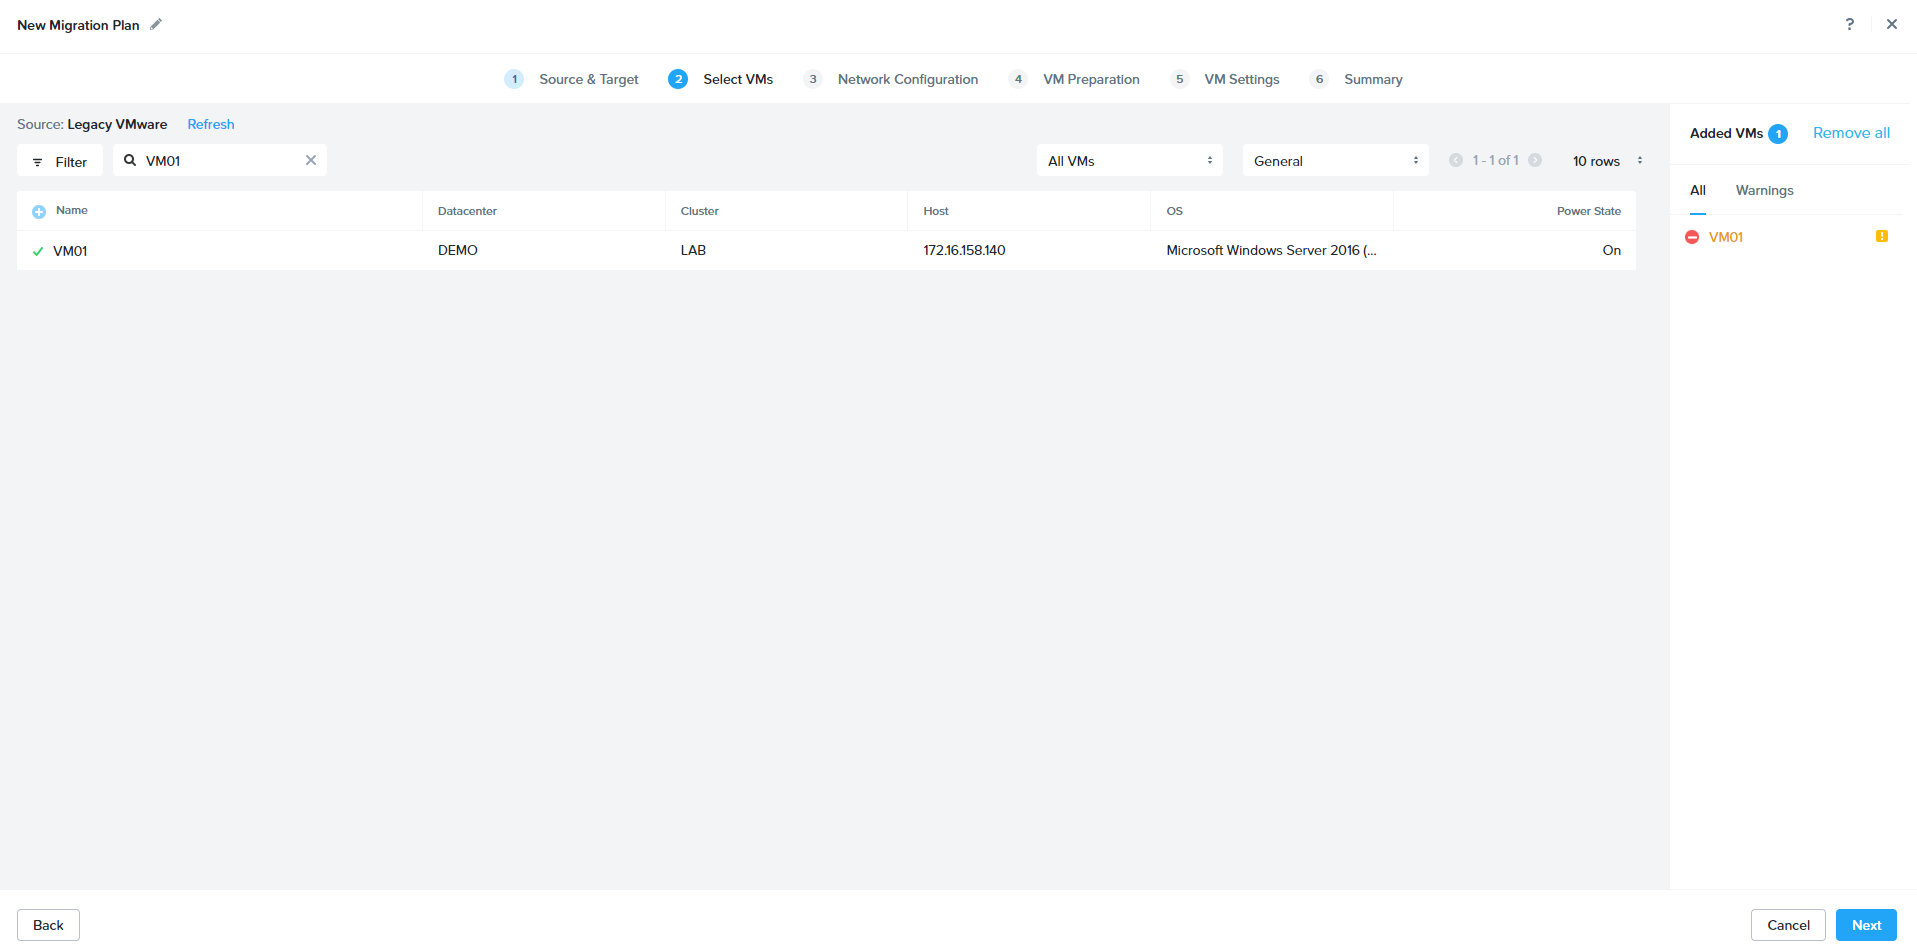
Select the Desire and Click + to add. Click next to proceed.

Specify the target network and click next to proceed.
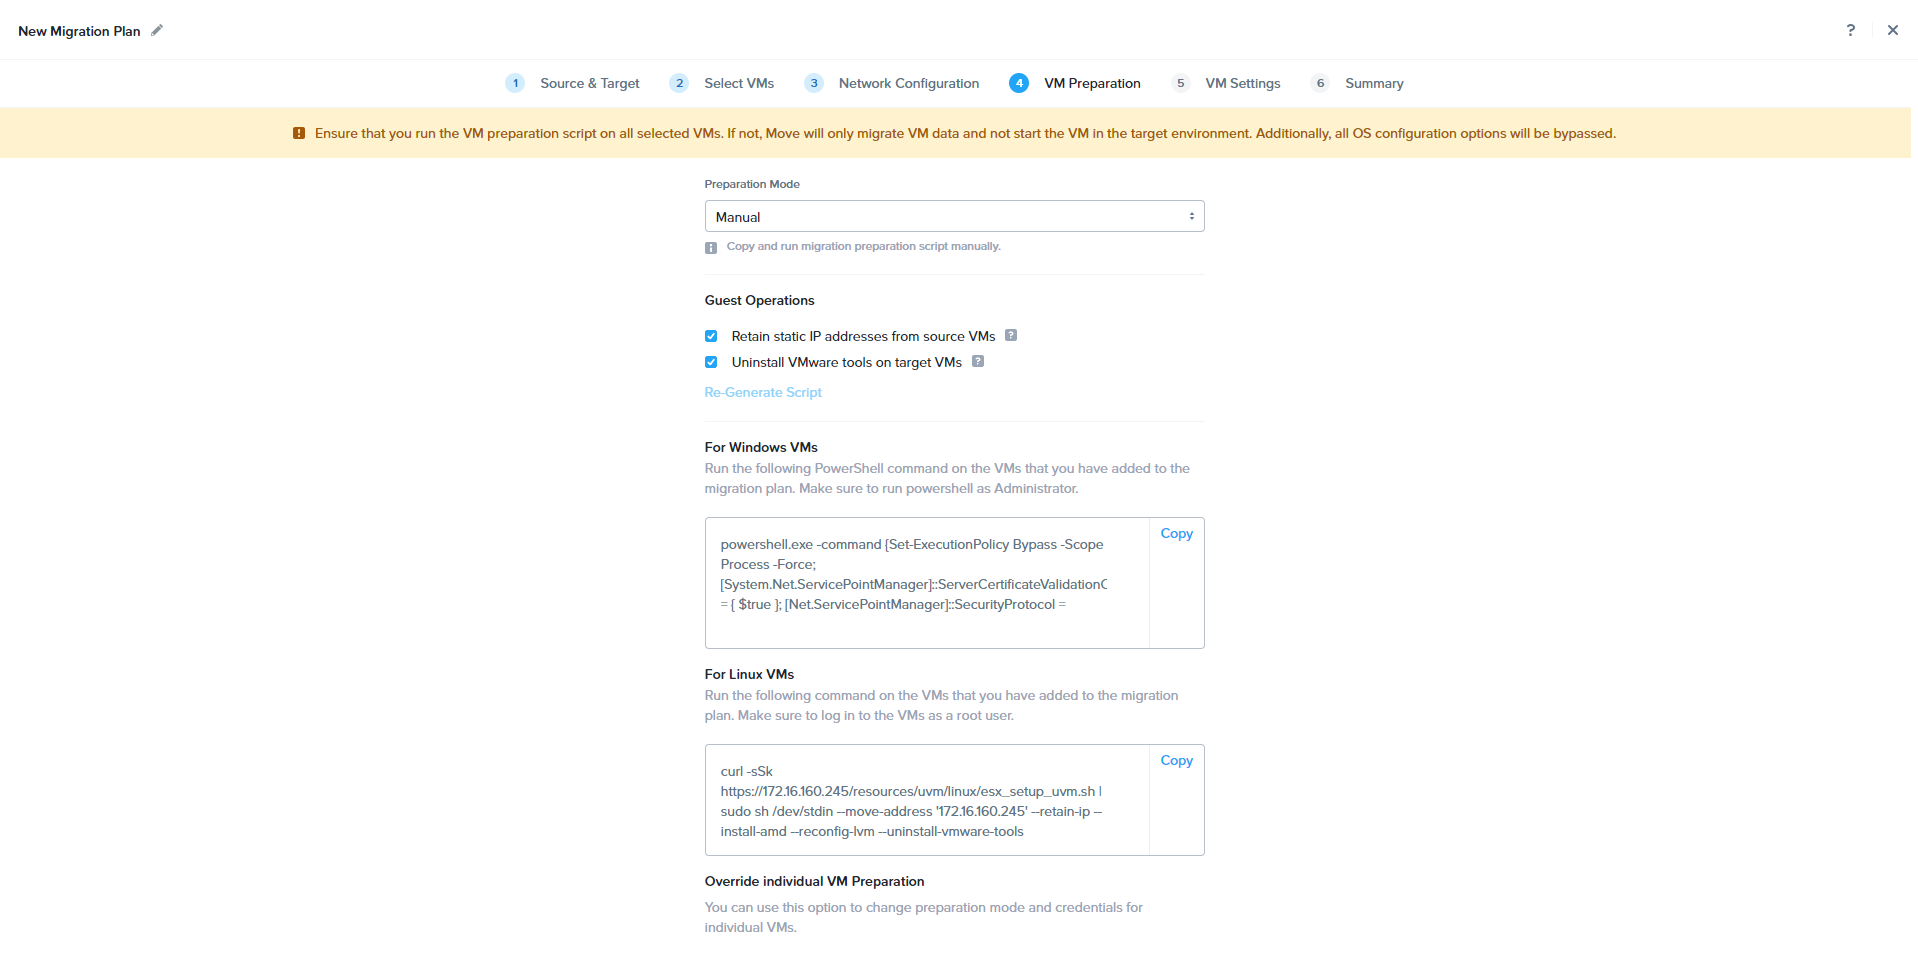
In the manual Preparation method, based on the OS type above mentioned commands need to be run manually.
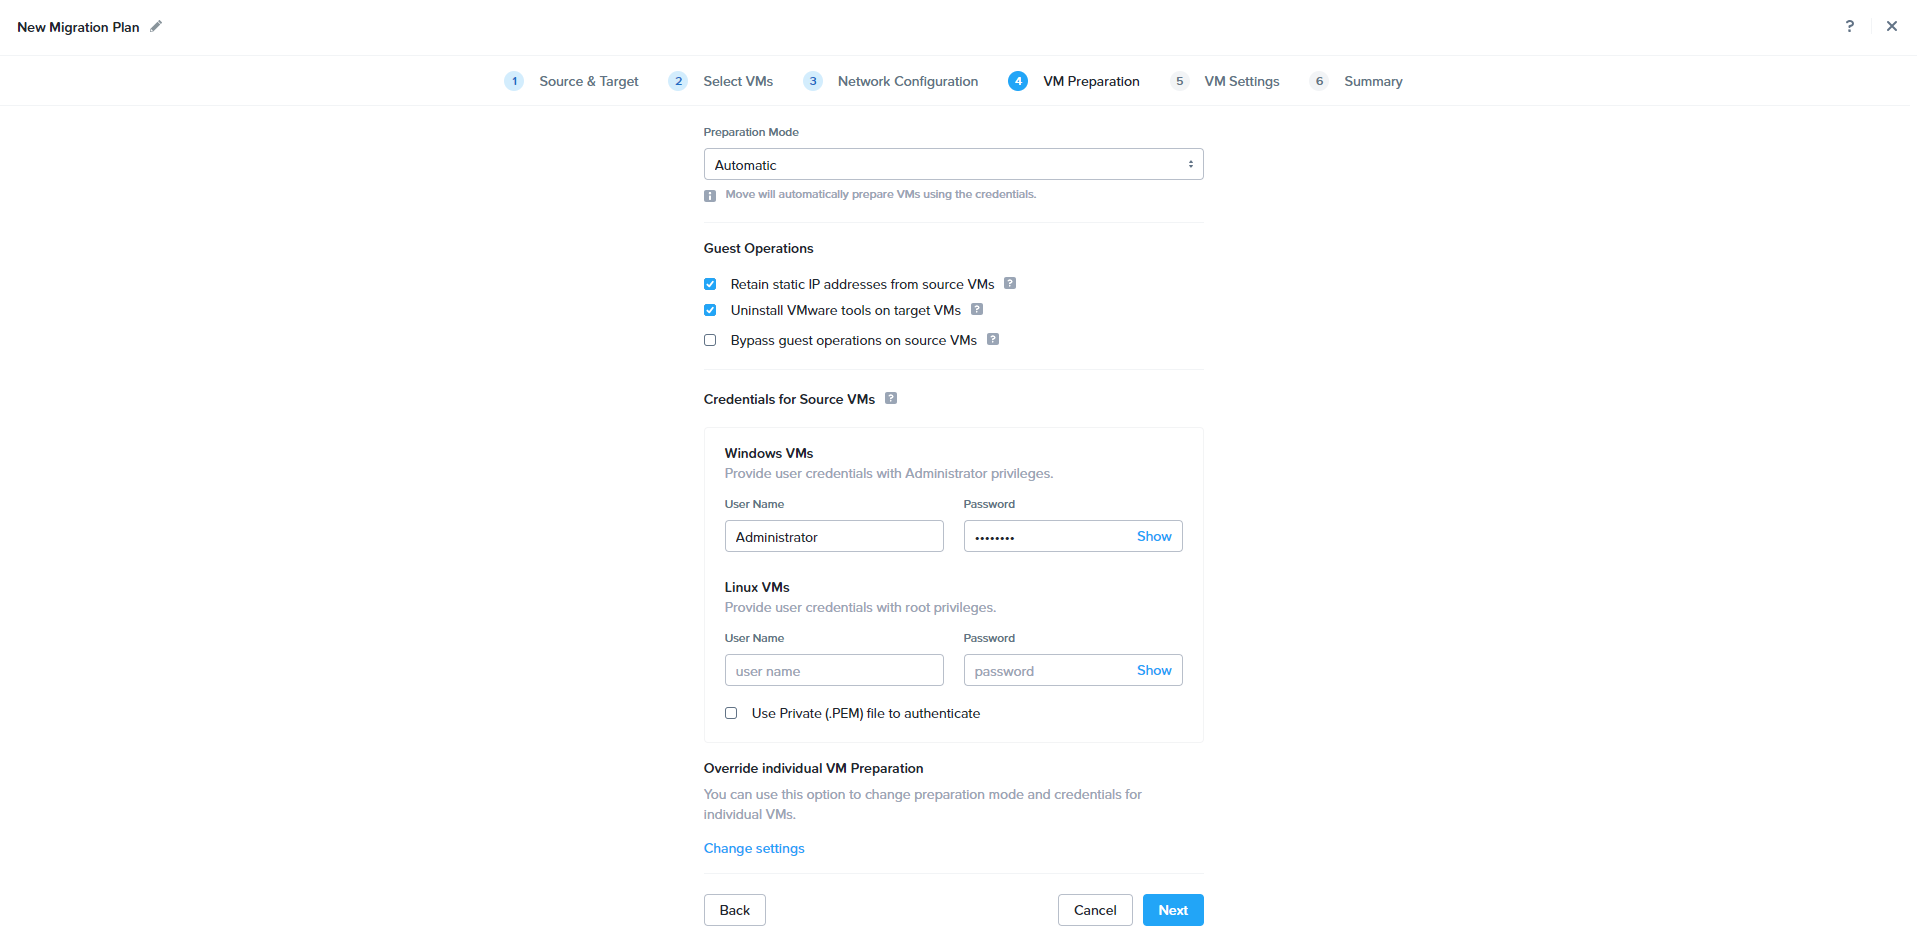
Provide Guest VM Admin permission to do the Automatic VM preparation and click next.

Review the configuration and click Save to start the migration.


During the Sync Process, Move will take the Source VM snapshot and sync the snapshot to target.

Once the Sync is completed, job status will be shown as Ready to Cutover.
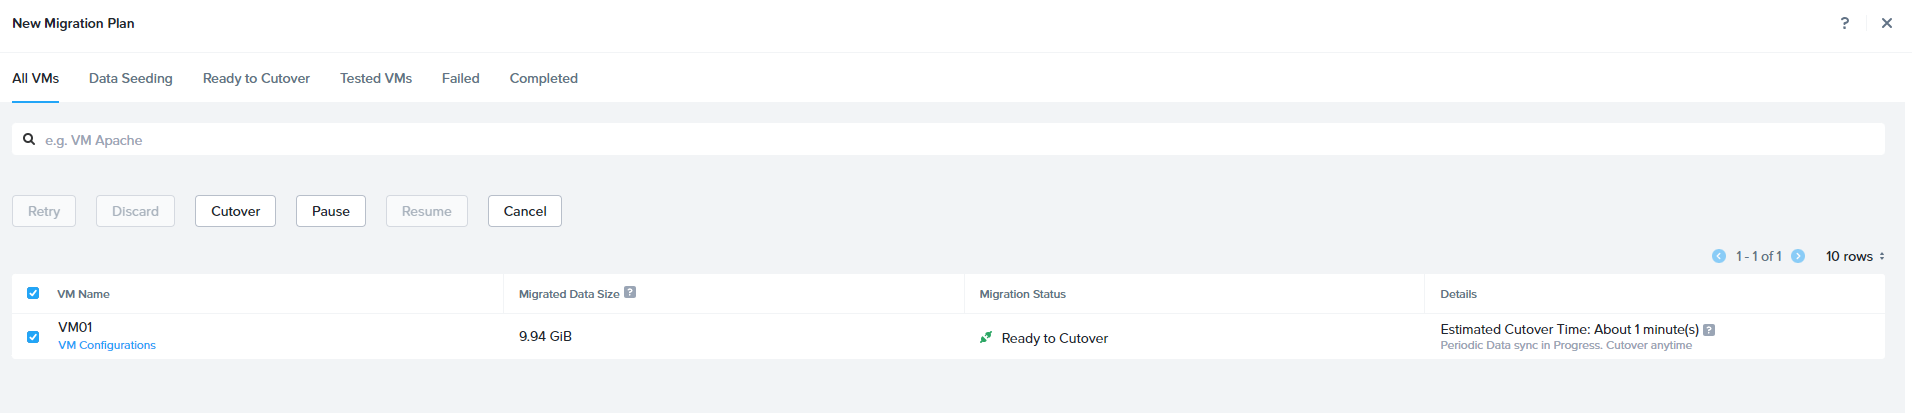
Select the VM and Click Cutover. During cutover Source VM will be shutdown and final sync will be initiated. Source VM NIC will be disconnected and New VM will be registered in Nutanix and powered-on
