
Nutanix Community Edition is ideal for learning to manage your infrastructure on your own hardware. Included is Prism, the user-friendly interface that provides unified management.
You can download the Nutanix CE from the link below.
https://next.nutanix.com/discussion-forum-14/download-community-edition-38417
CE Can be configured as Single Node cluster , 3-Node Cluster.
Virtual Machine Specifications:
- CPU: 4 VCPU (Enable Expose Hardware assisted virtualization to guest OS)
- RAM: 16GB (Better 32GB)
- HDD: 70GB (For Hypervisor)
- HDD2: 200GB (For CVM)
- HDD3: 200GB (For DATA)
- NIC: Single NIC
- 2 IP Address per Node: 1 for Hypervisor & 1 for CVM
Create New Virtual Machine:
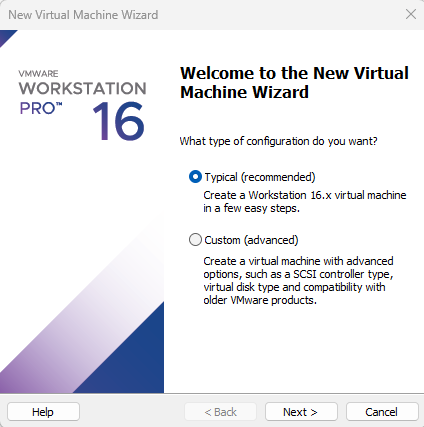
Click next
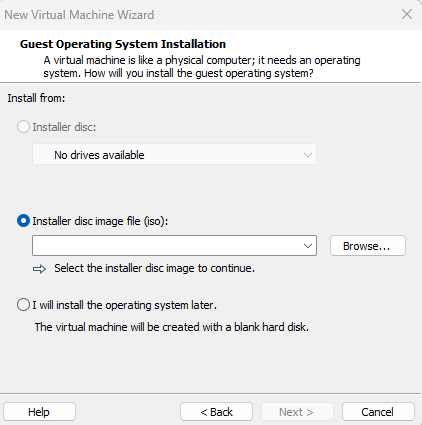
Browse & Select Downloaded ISO and Click Next
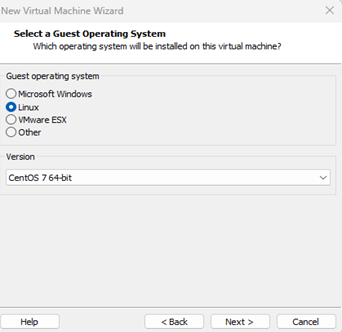
Select Linux as Operating System and click next.
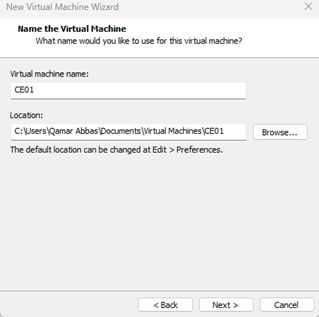
Specify the Virtual Machine name and click Next.
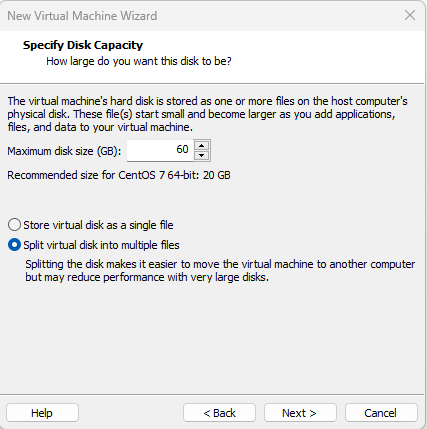
Specify the First HDD 60GB for Hypervisor and click Next.
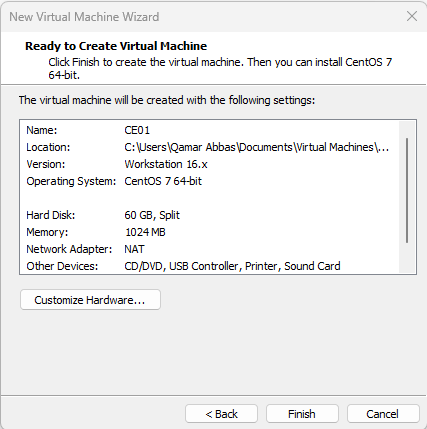
Click Finish to Create the VM. Right Click VM and Edit the hardware. Add additional HDDs and enable Virtualization to Guest OS.

Power-On VM and boot from the CE download ISO.

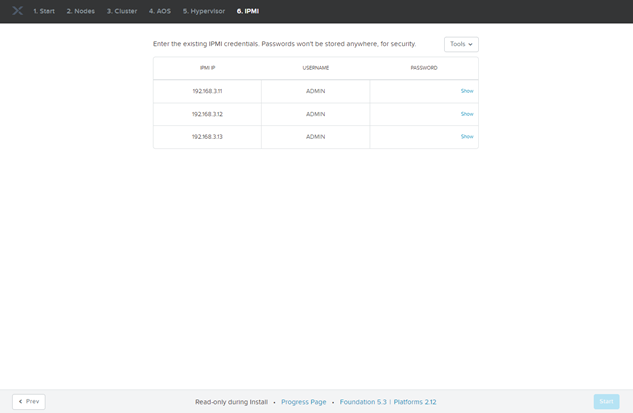
If You are going to create the Single Node Cluster, then select Create Single-Node Cluster, Select Next to Continue.
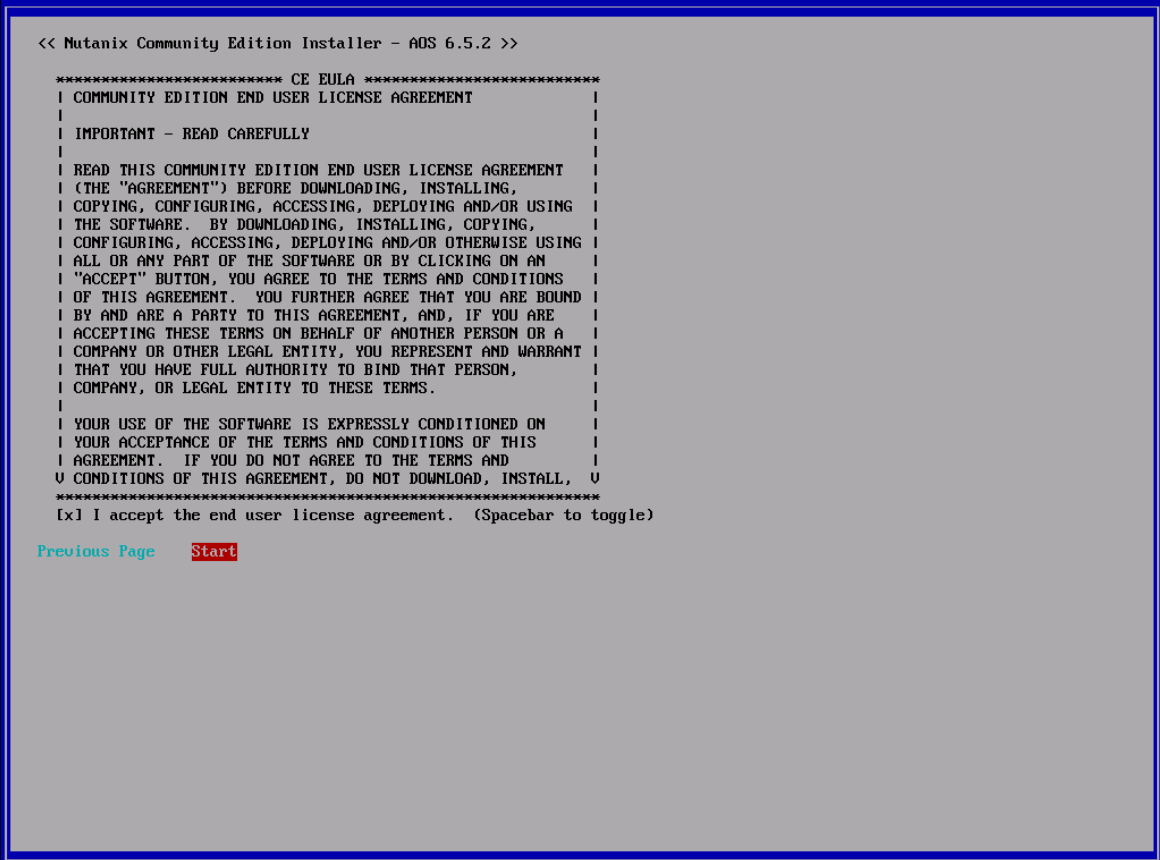
Scroll down the license and accept the agreement, Select Start and Enter to Start the installation.
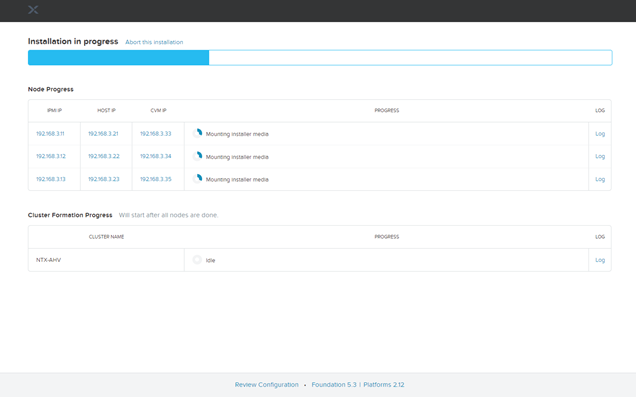
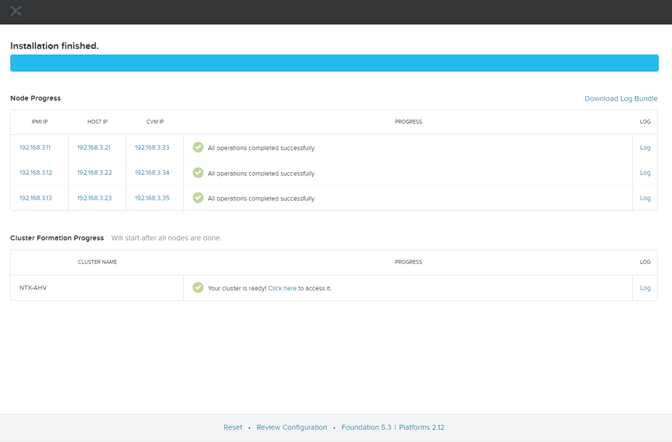
Installation will take 10-15 minutes, wait for installation, press Y to reboot. If you are creating the 3-node cluster, then repeat the above steps for node 2 and 3.
After the reboot Both AHV Host & CVM should be reachable.
SSH to CVM IP using default Credentials.
User: nutanix
Password: nutanix/4u

If you have not created the cluster initially than you can create the single node cluster using below command.
Single Node Cluster:
cluster -s –redundancy_factor=1 –cluster_external_ip= create
Multi-Node Cluster:
cluster -s Node1_CVM_IP,Node2_CVM_IP,Node3_CVM_IP create
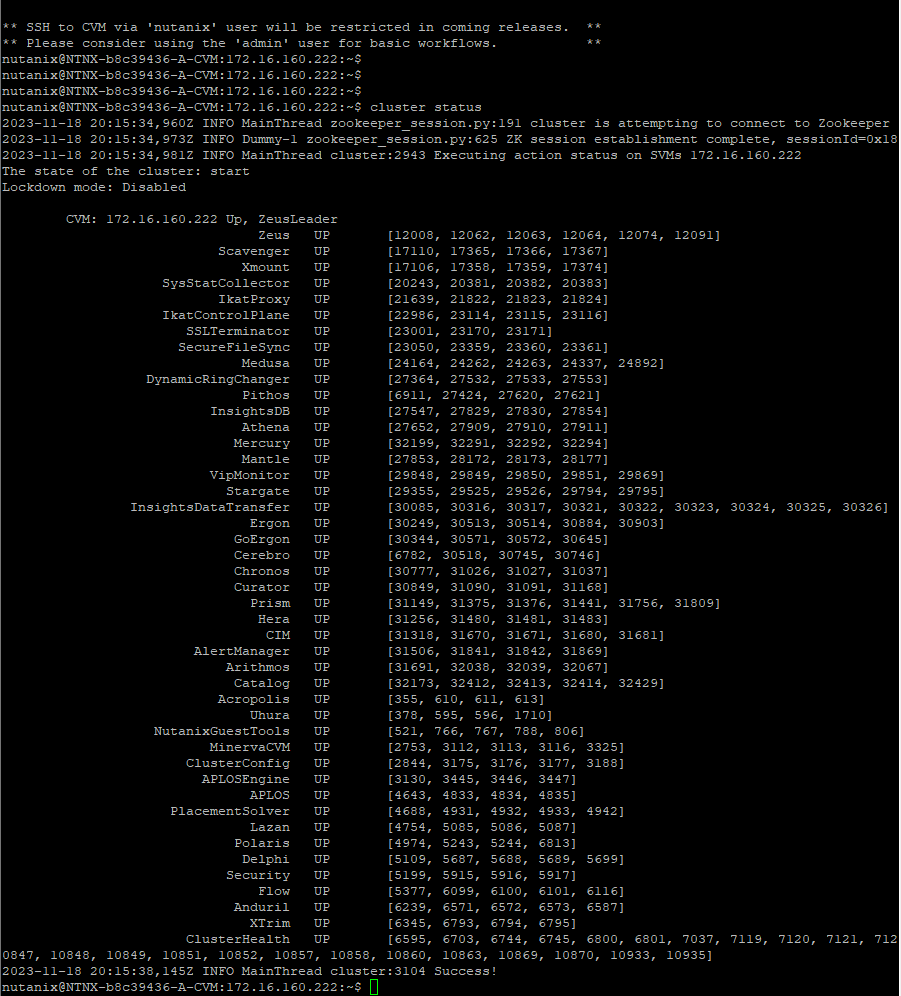
Once cluster is created you can check the cluster status using “Cluster status” command
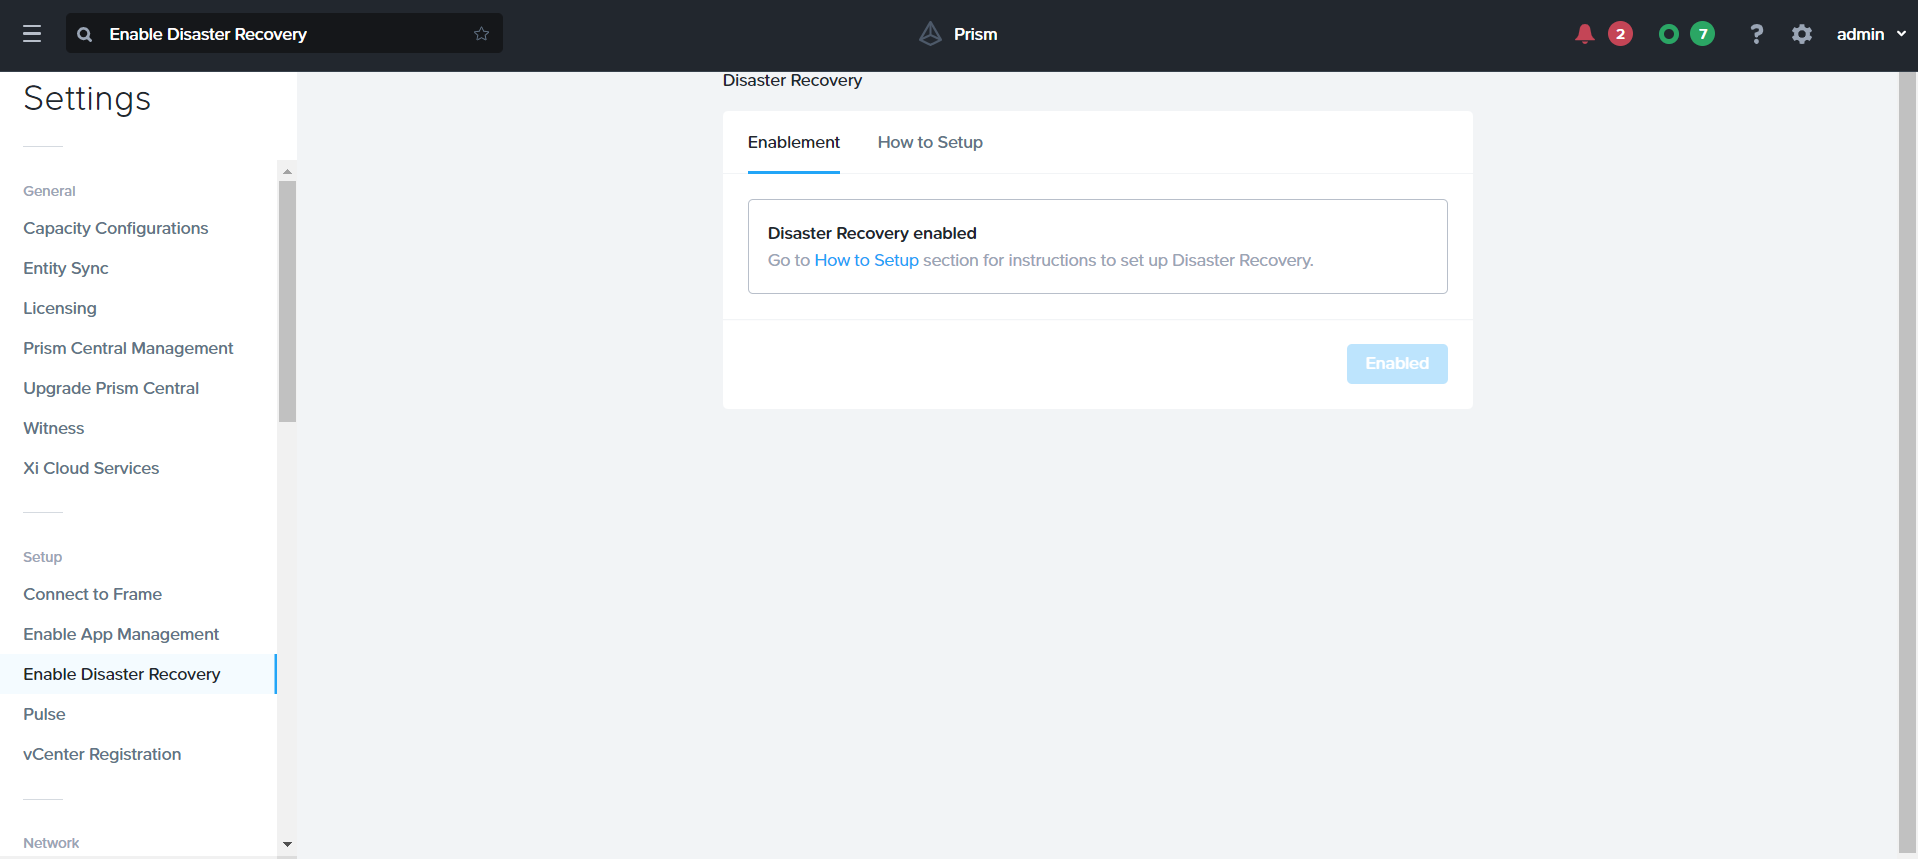
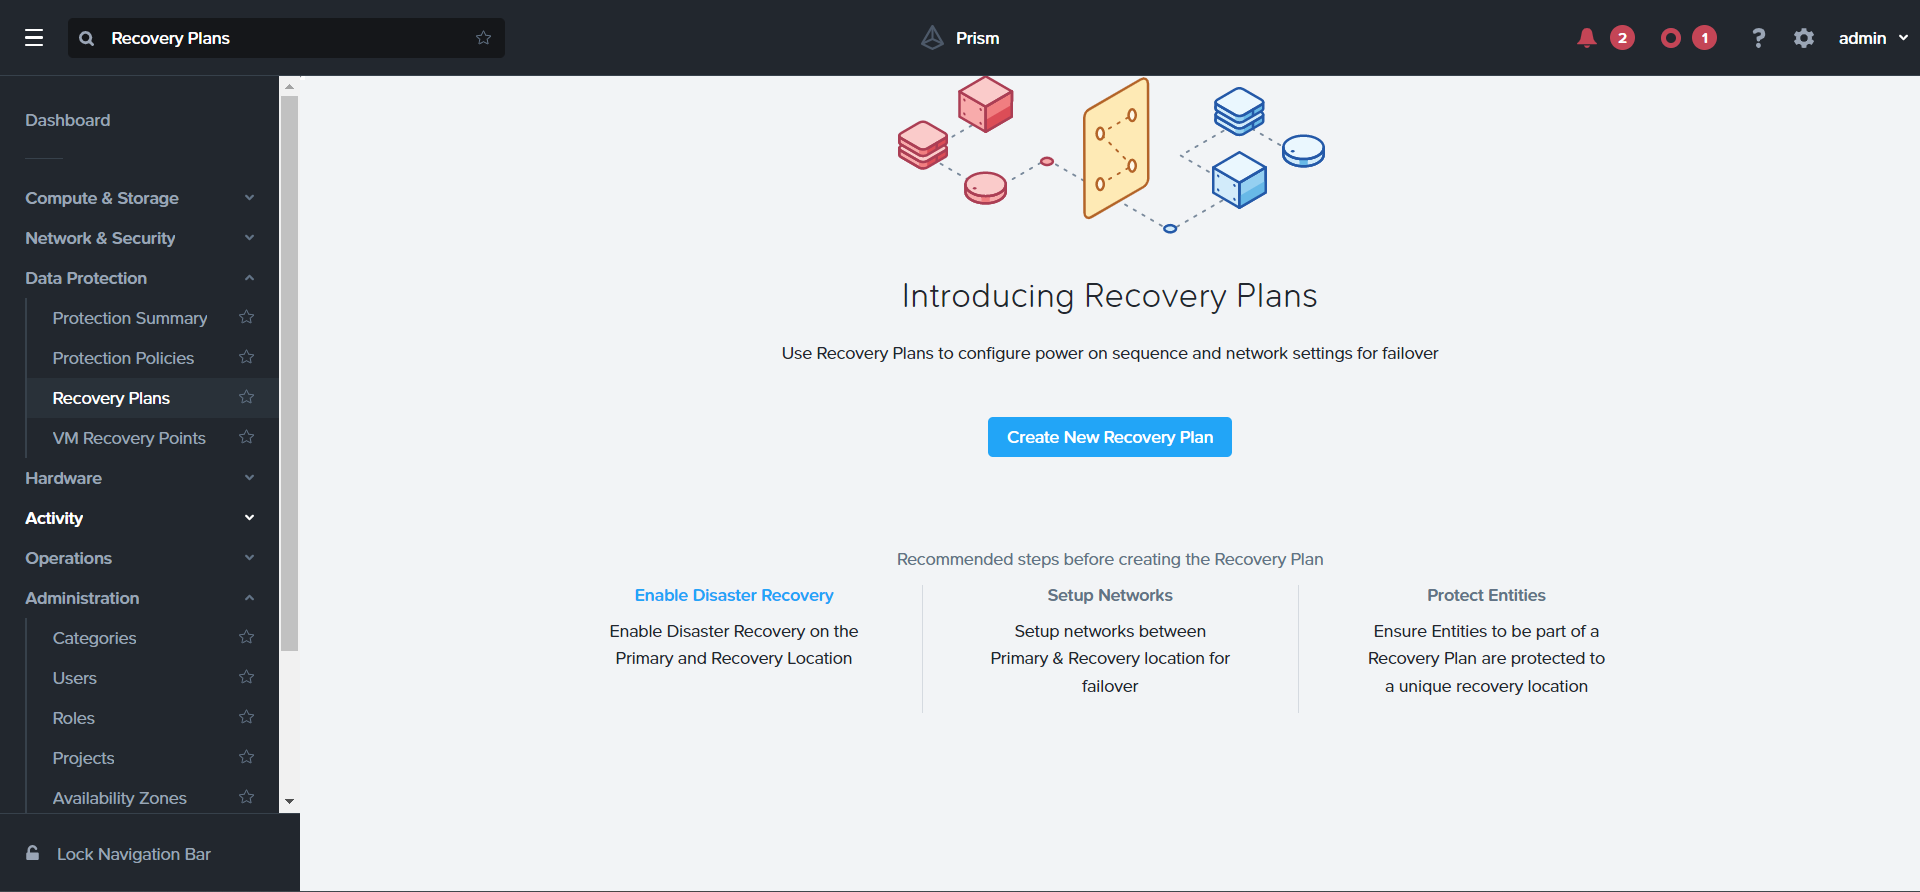
Once the cluster services is UP. We can login to PRISM.
User: admin
Password: Nutanix/4u
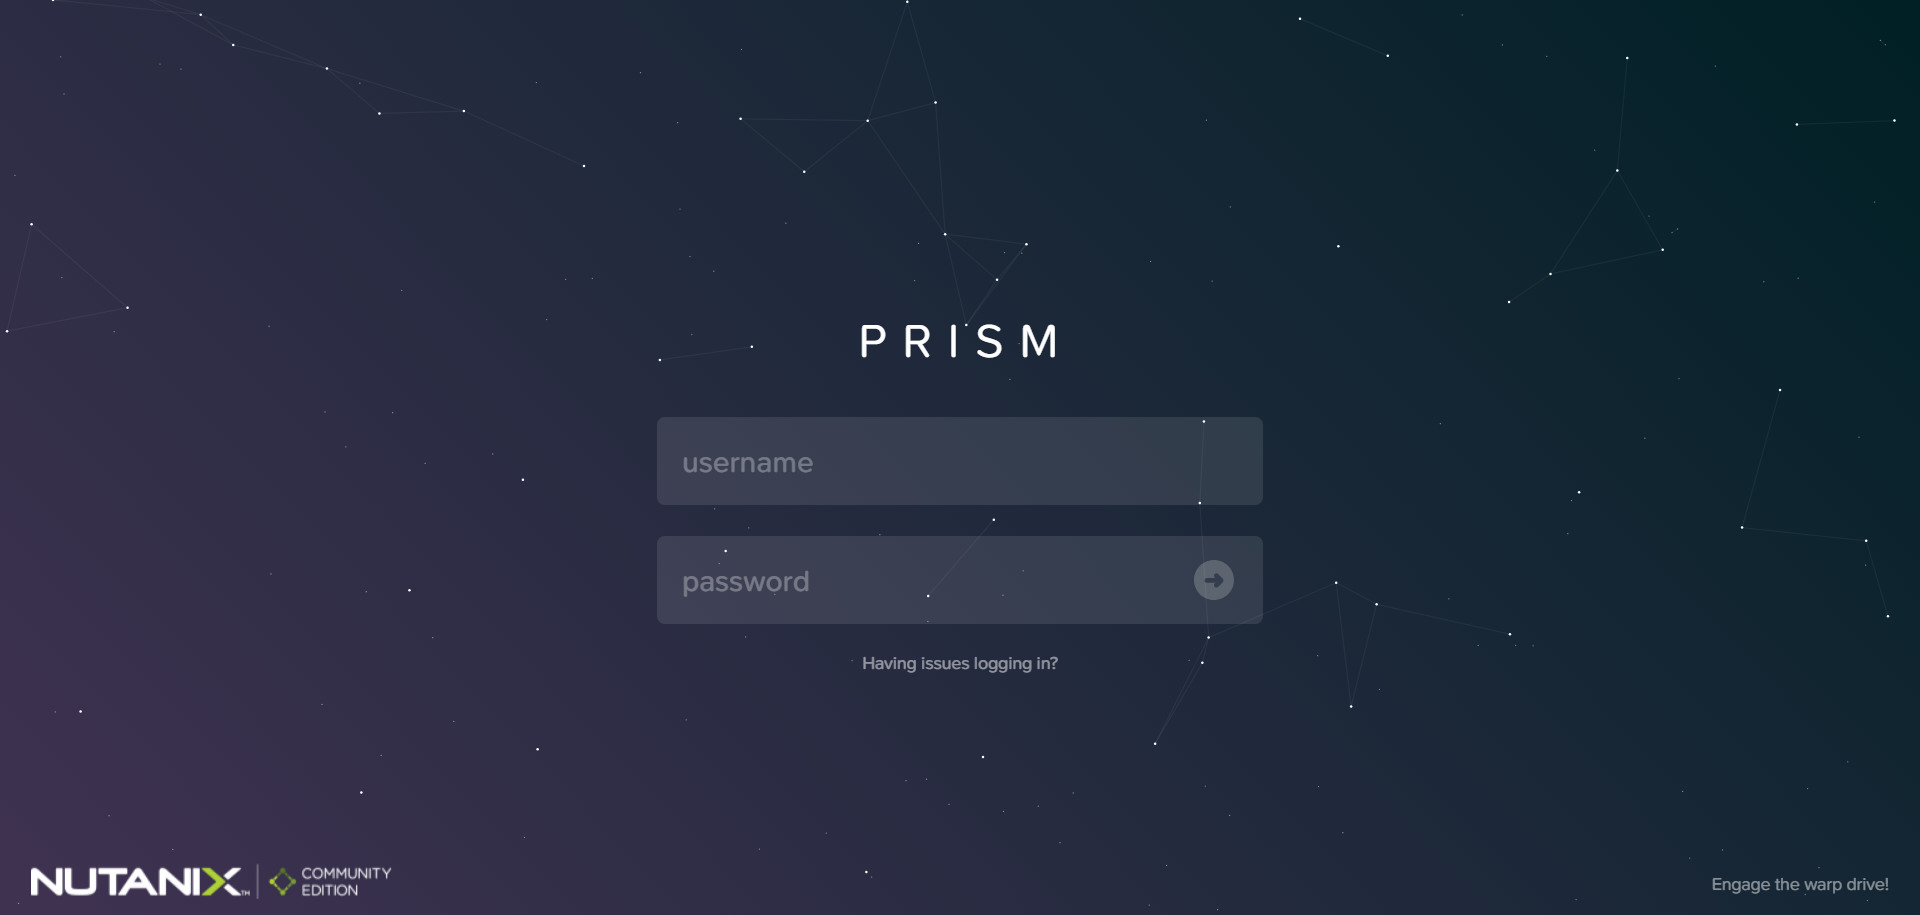
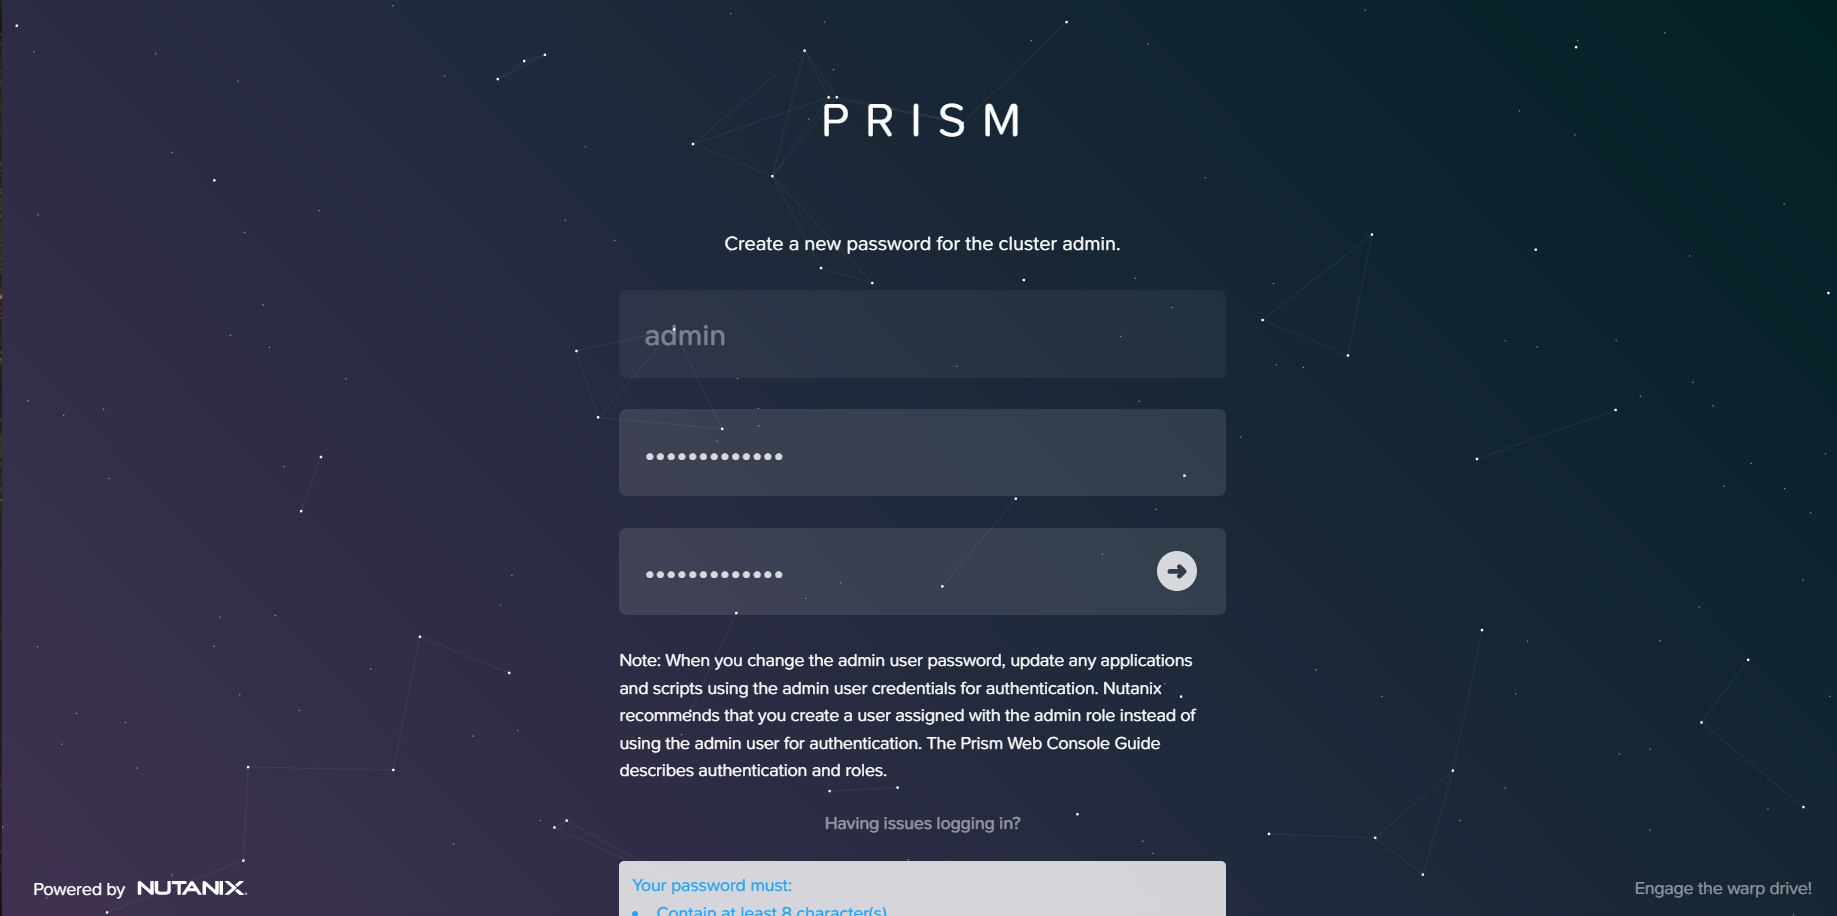
During First time login you will be asked to change the default password.

Provide New Password and enter.
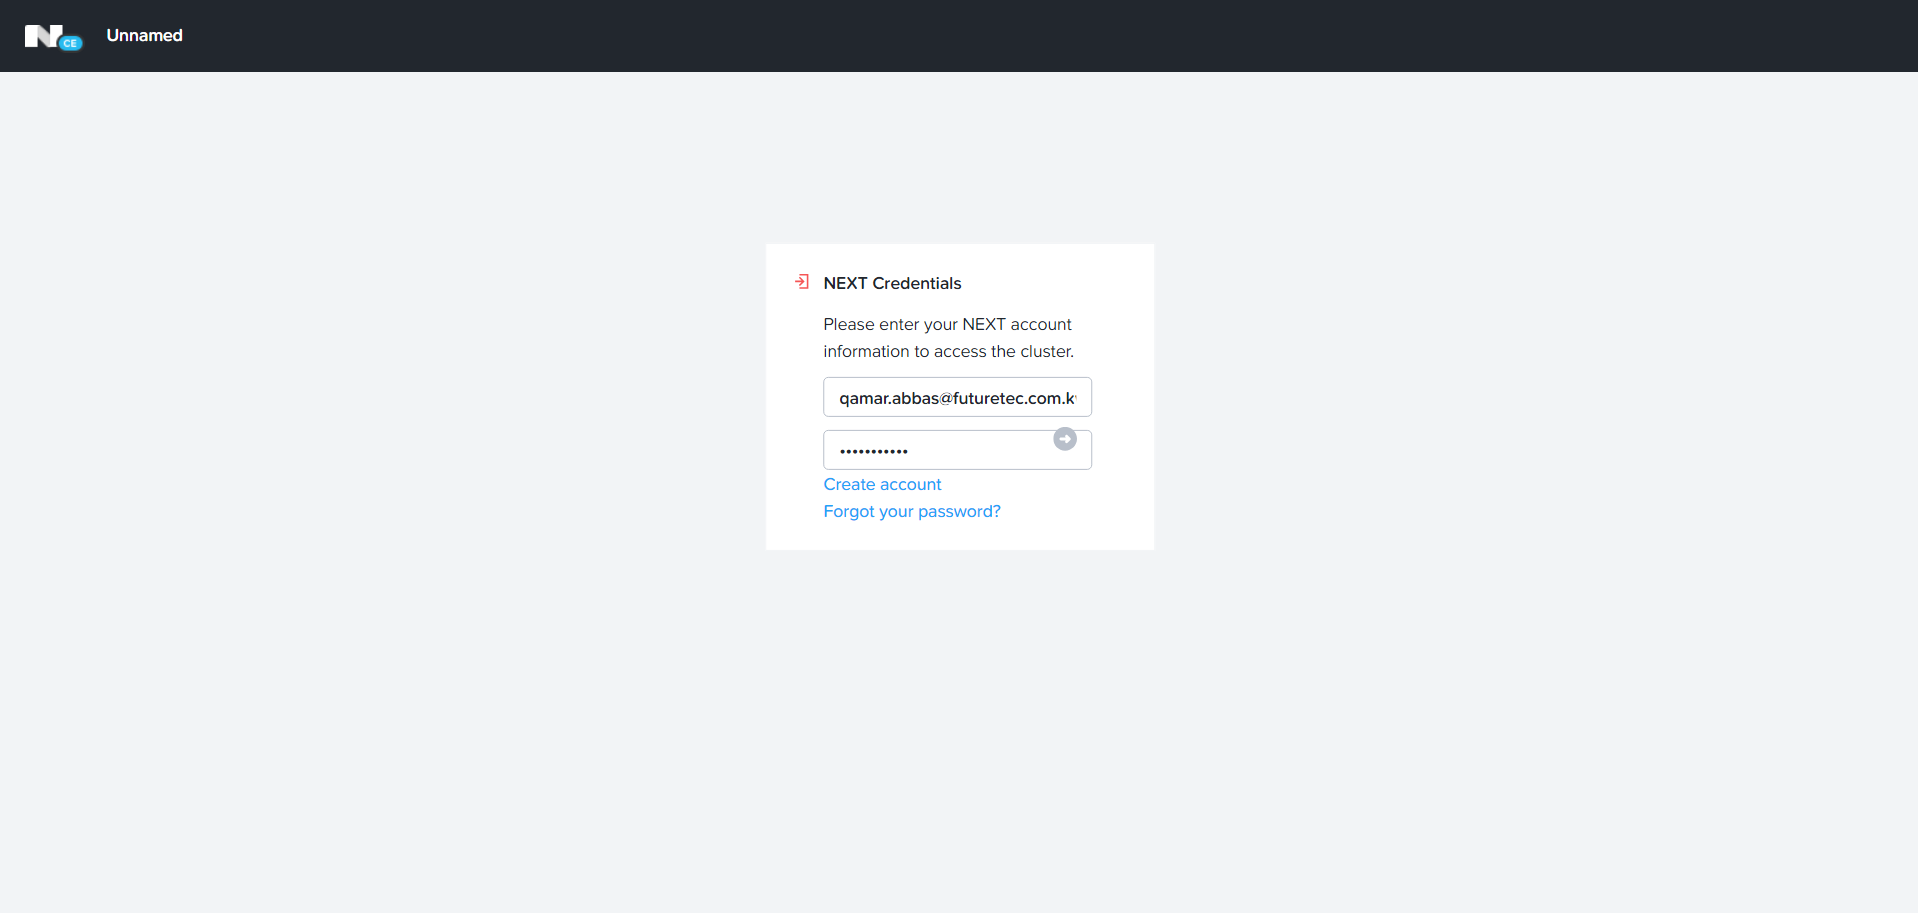
Enter your Nutanix Portal Username and password.
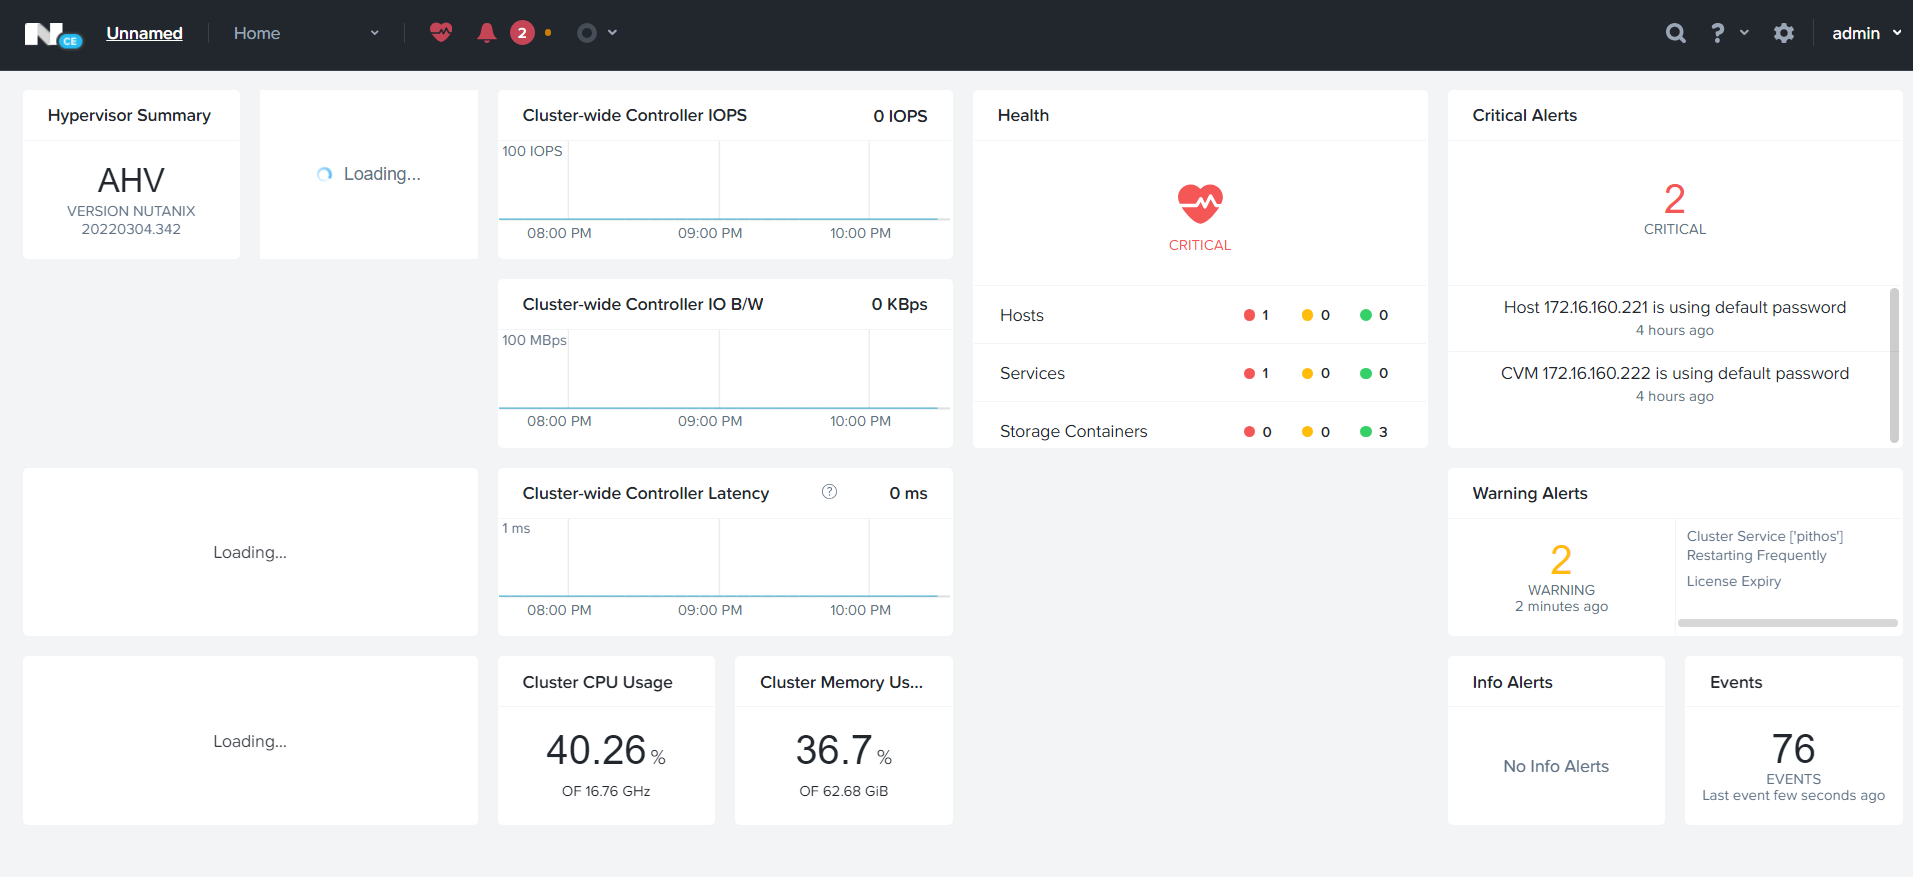
Your Nutanix CE cluster is ready 😊 enjoy .
Let me know if you guys need any help while installating Nutanix CE.


