vCenter Server is the centralized management utility for VMware, and is used to manage virtual machines, multiple ESXi hosts, and all dependent components from a single centralized location. VMware vMotion and svMotion require the use of vCenter and ESXi hosts.
In this article, I will show Step by Step instruction how to deploy VMWare VCenter Server Appliance.
VCenter Server Appliance Requirements:
| Resource |
Requirement |
| Disk storage on the host machine |
Embedded Platform Services Controller:
- Tiny: 120GB
- Small: 150GB
- Medium: 300GB
- Large: 450GB
vCenter Server Appliance with an External Platform Services Controller:
- Tiny: 86GB
- Small: 108GB
- Medium: 220GB
- Large: 280GB
External Platform Services Controller Appliance:
- Tiny: 30GB
- Small: 30GB
- Medium: 30GB
- Large: 30GB
|
| Memory in the vCenter Server Appliance |
Platform Services Controller Only: 2GB Ram
All components on one Appliance.
- Tiny: 8GB RAM
- Small: 16GB RAM
- Medium: 24GB RAM
- Large: 32GB RAM
|
| CPUs in the vCenter Server Appliance |
Platform Services Controller Only: 2 CPUs
All components on one Appliance.
- Tiny: 2 CPUs
- Small: 4 CPUs
- Medium: 8 CPUs
- Large: 16 CPUs
|
Notes:
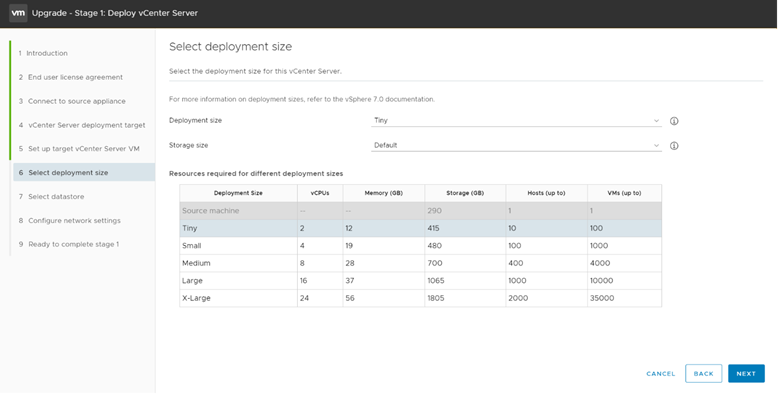
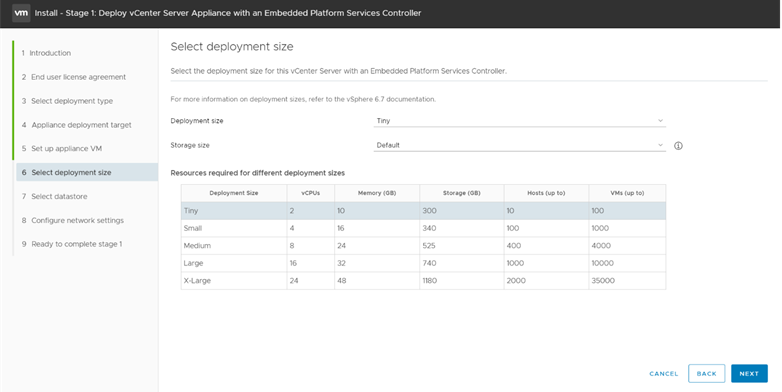
- Tiny Environment (up to 10 Hosts, 100 Virtual Machines)
- Small Environment (up to 100 Hosts, 1,000 Virtual Machines)
- Medium Environment (up to 400 Hosts, 4,000 Virtual Machines)
- Large Environment (up to 1,000 Hosts, 10,000 Virtual Machines)
Download VCenter Server Appliance from VMware Website. And mount the ISO. Browse to vcsa-ui-installer on Mounted Media and run installer.exe
Note: Before starting the installed, make sure to create the DNS A-Record for the VCenter Server along with reverse pointer for the same.
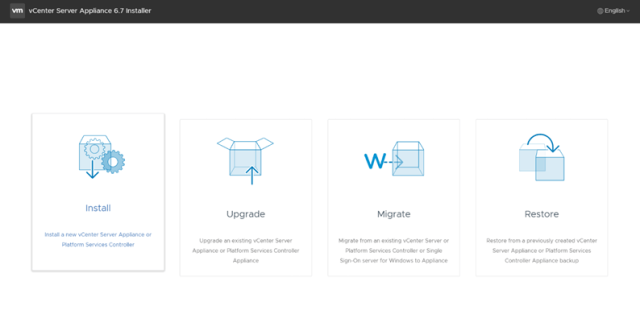
Click Install to start the Installation Wizward.
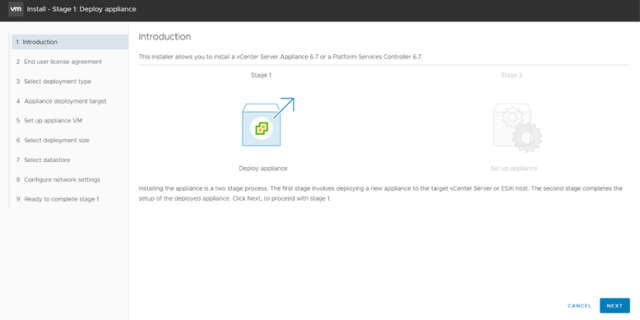
Click Next start the Appliance Deploy.

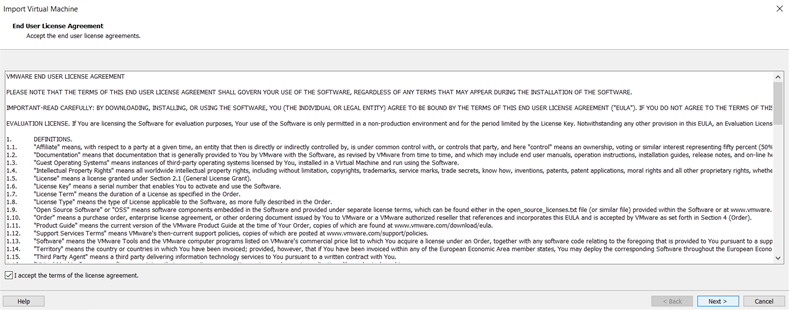
Accept License Agreement and click next

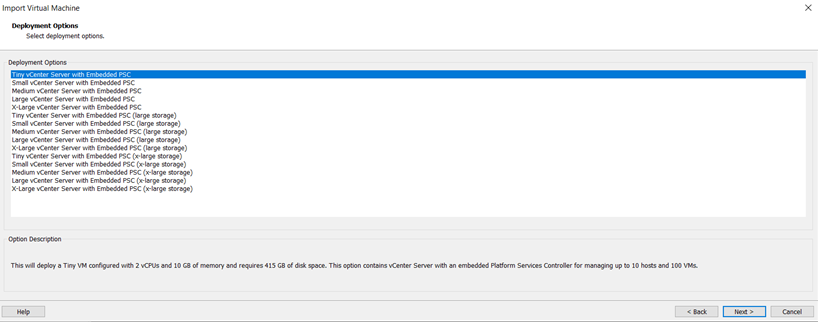
Select the Desire deployment type and click Next. I am proceeding with Embedded Platform in this article.
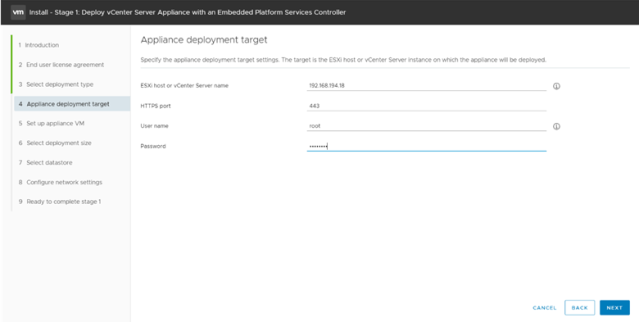
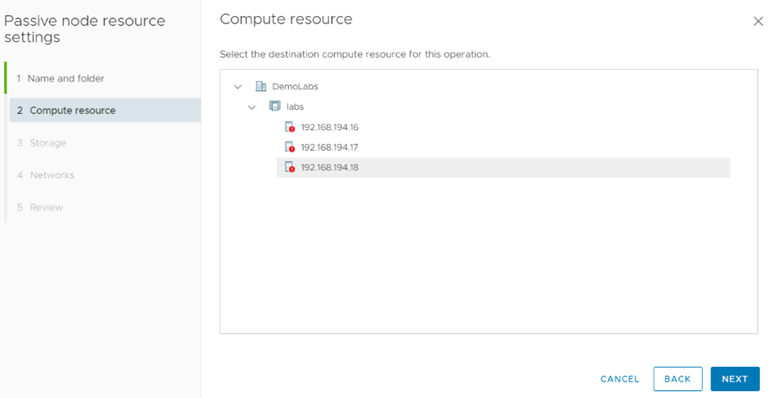
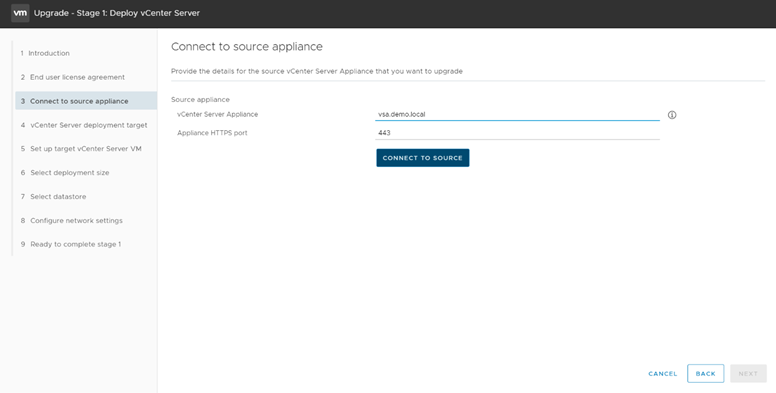
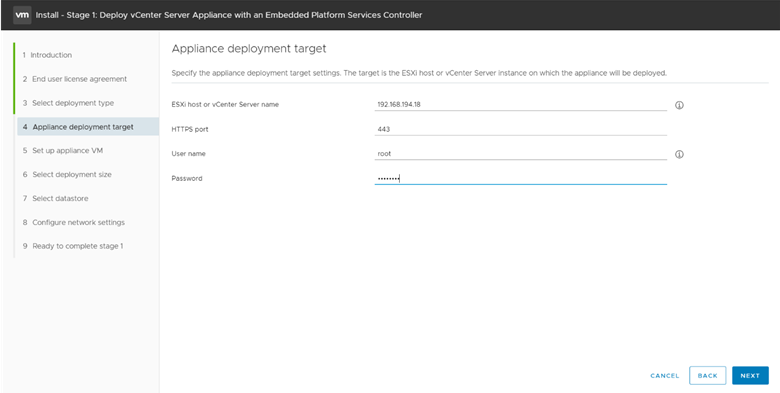
Provide the ESXI or VCenter Server information where you want to deploy the VCenter Appliance. And check ok.

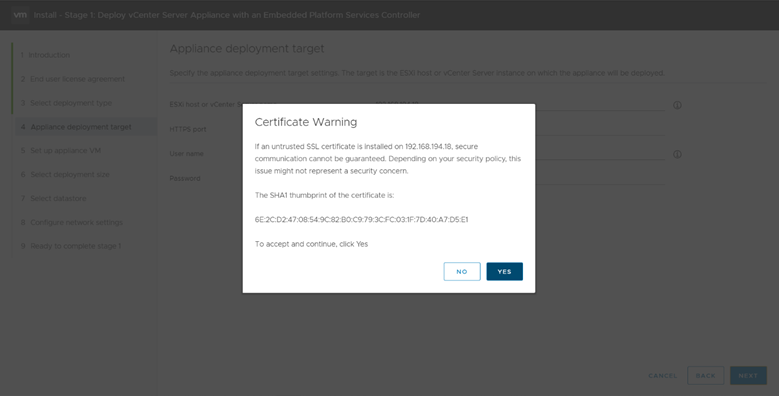
Accept the ESX Server Certificate Warning.

ESXI is connected Click Next.
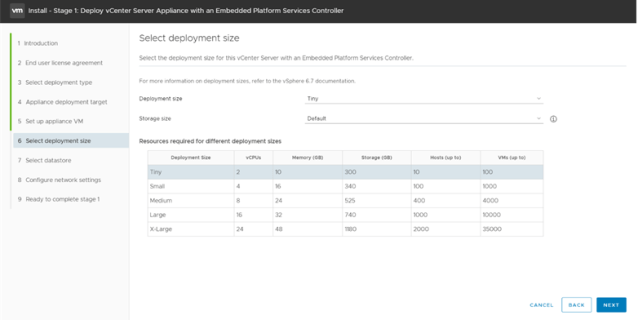
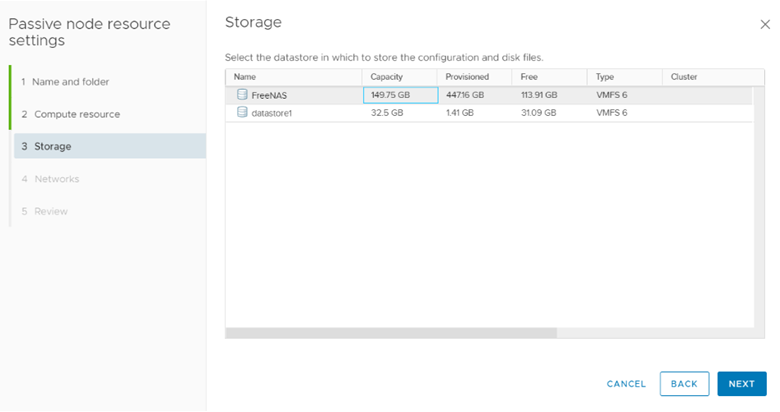
Based on the requirements select the deployment size, and storage size.
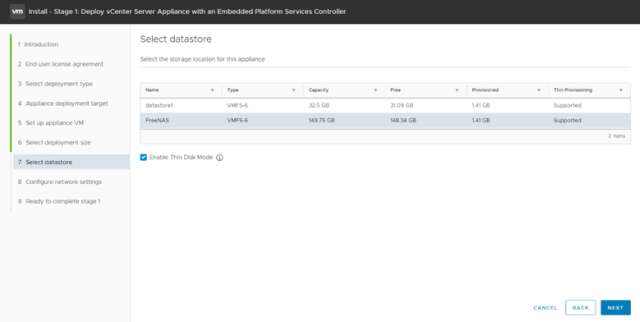
Select the datastore where you want to save the Appliance. Incase if you want to deploy the appliance in Thin Disk Mode, select the option “Enable Thin Disk Mode”
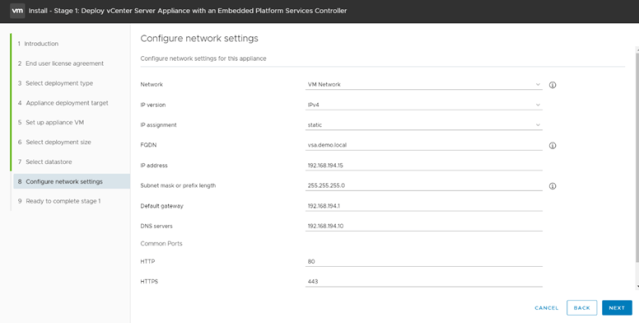
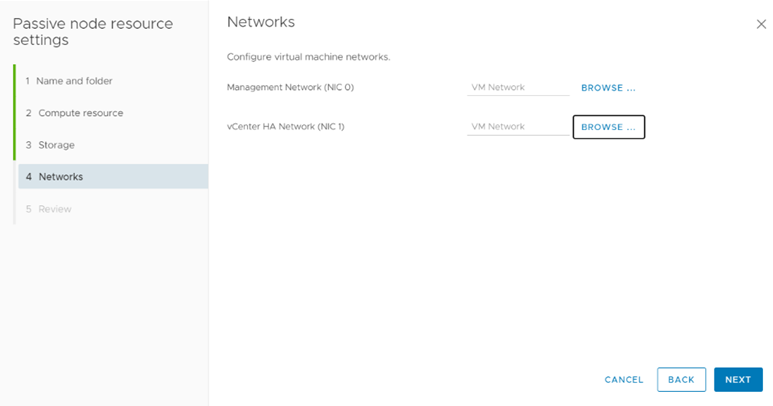
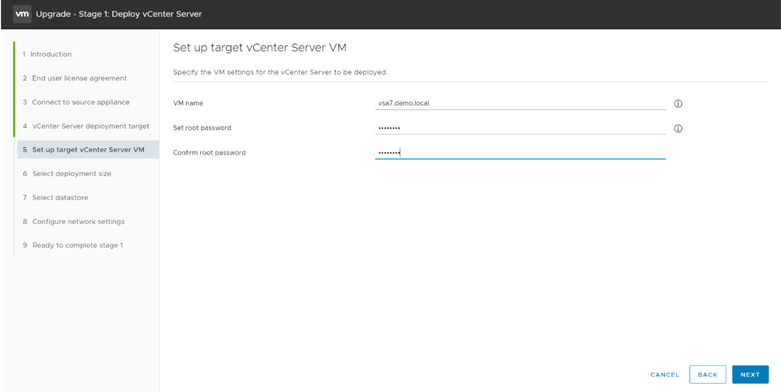
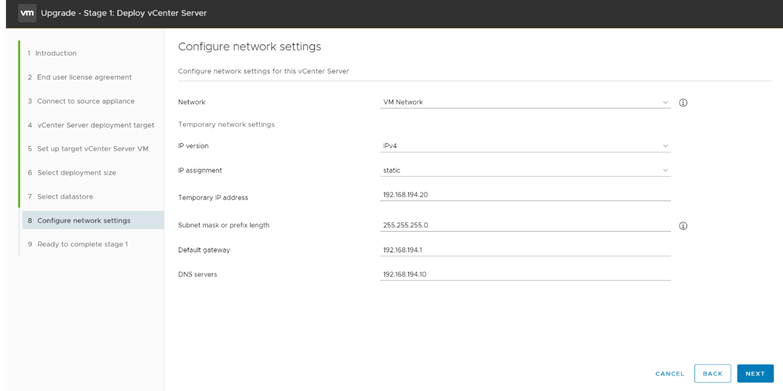
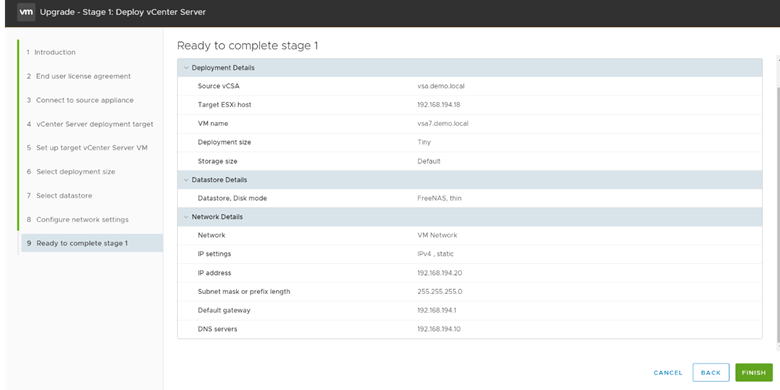
Provide the Network information, like VM IP hostname etc. Make sure before proceed next create the DNS Entries.
Click Finish to start the Appliance VM deployment.
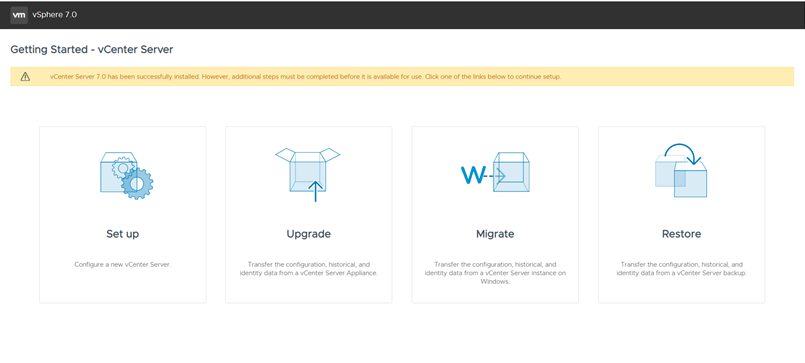
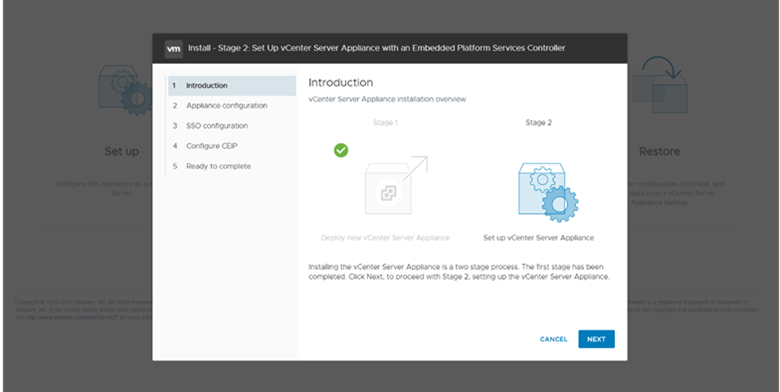
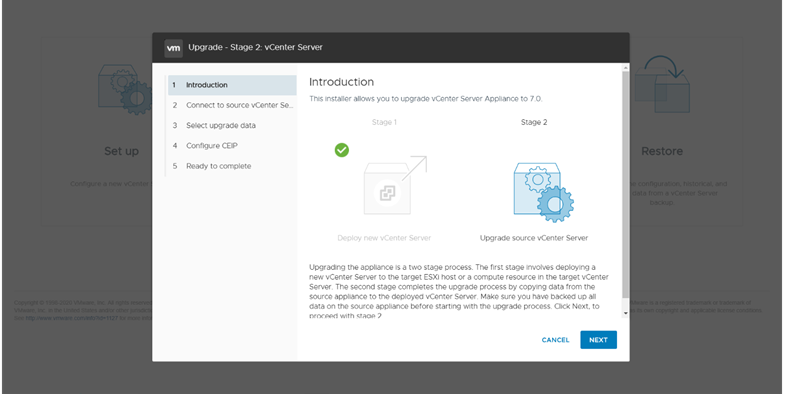
Once VM Deployment finished, Stage 1 of VCenter Appliance got finished. Click Continue to start the Stage 2 of deployment.
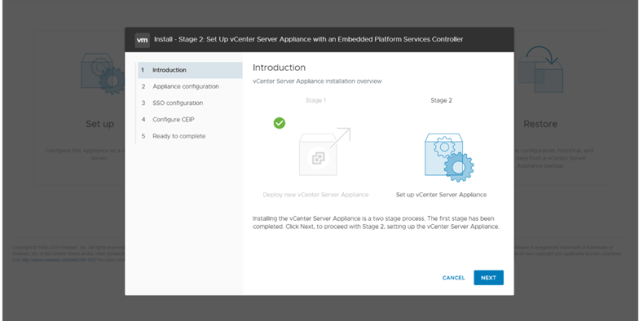
Click Next start the Stage 2

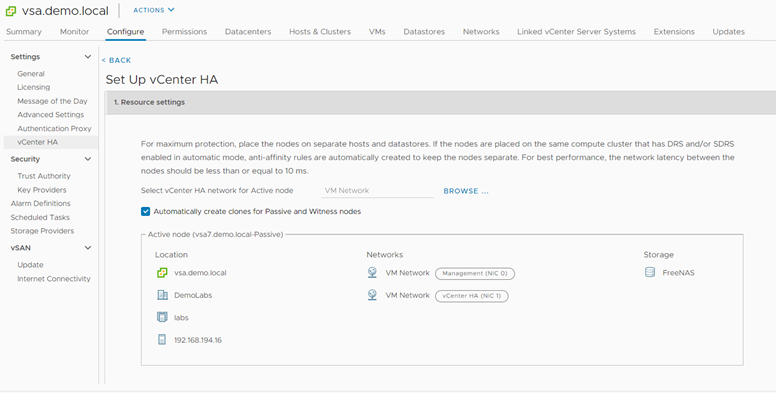
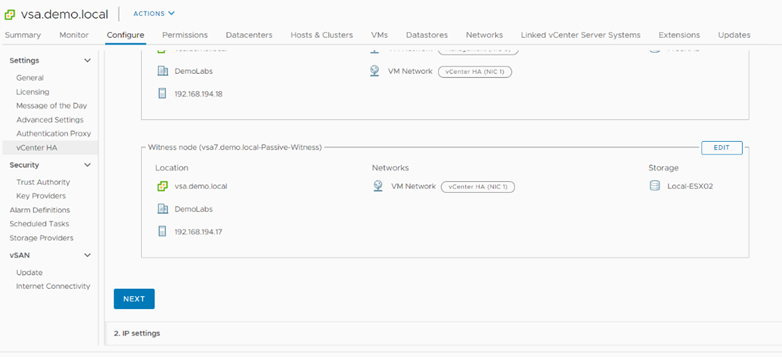
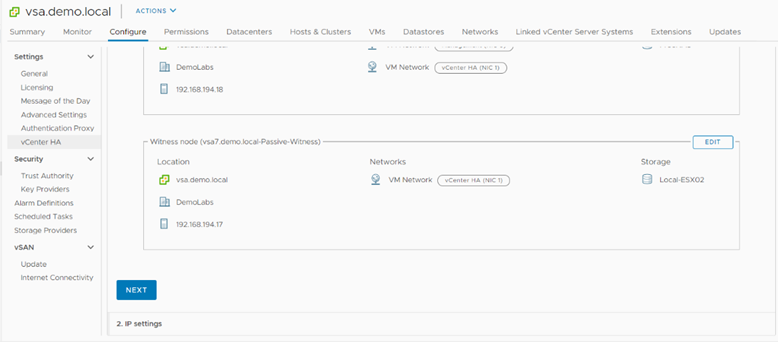
Provide the NTP information, Enable SSH Access incase if you want to configure VCenter Sever HA.
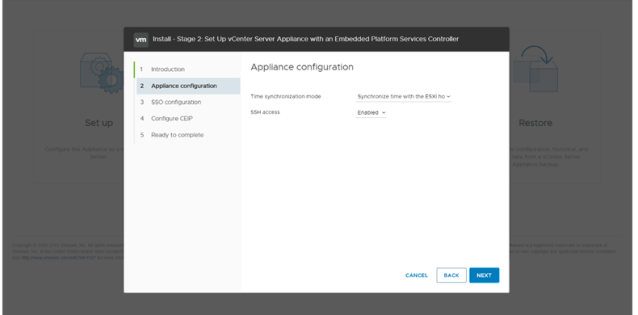
As I am planning to configure VCenter HA, hence enabling SSH Access. Click Next to continue.
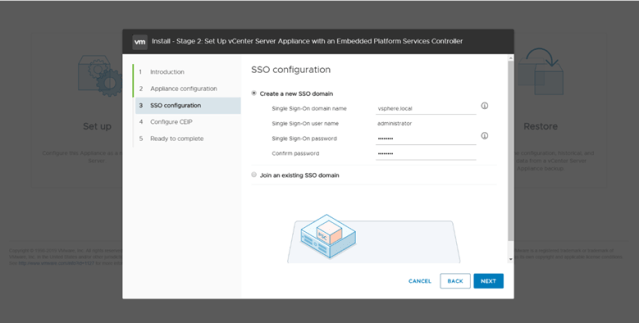
Select the desire SSO Configuration, as I am going to setup the new SSO Domain. So I am providing the SSO domain name & Password for the Administrator. Click Next to continue.
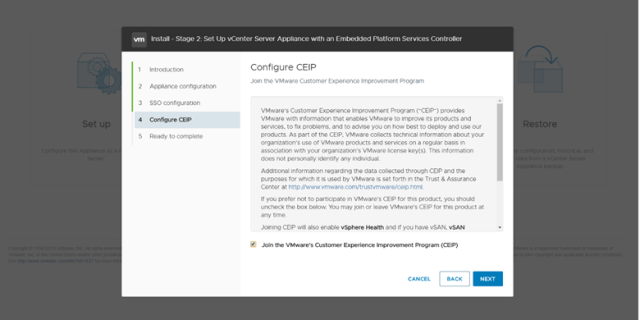
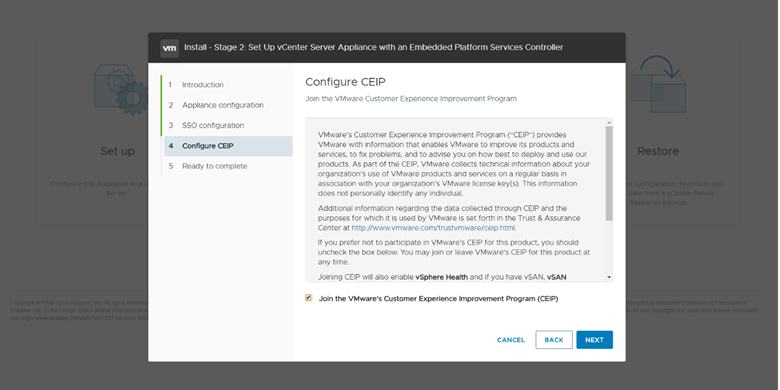
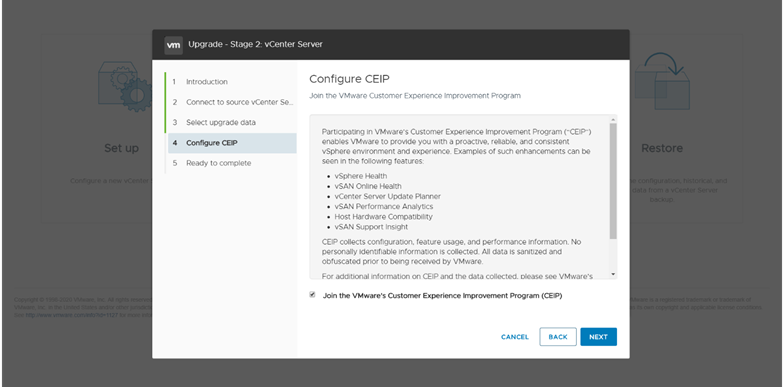
Select the CEP option you desire and click next.
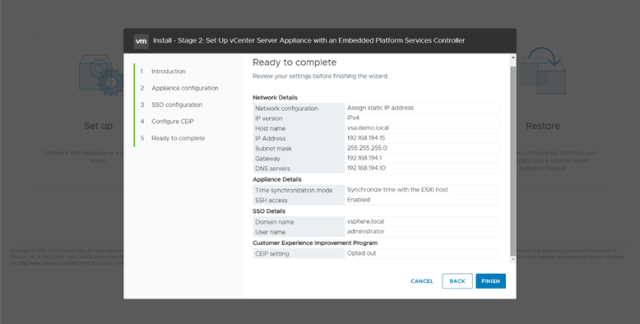
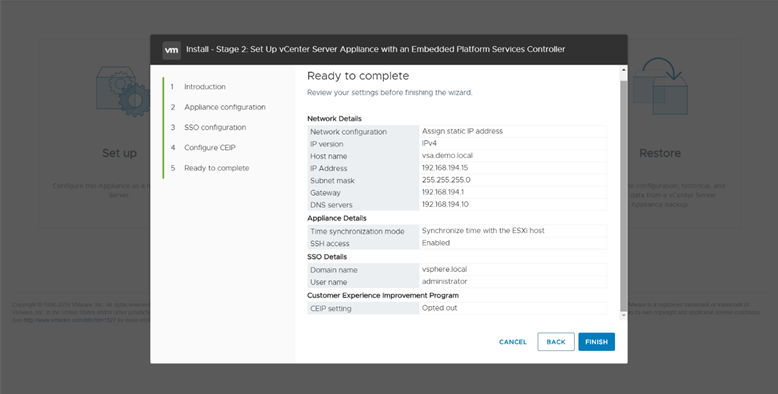
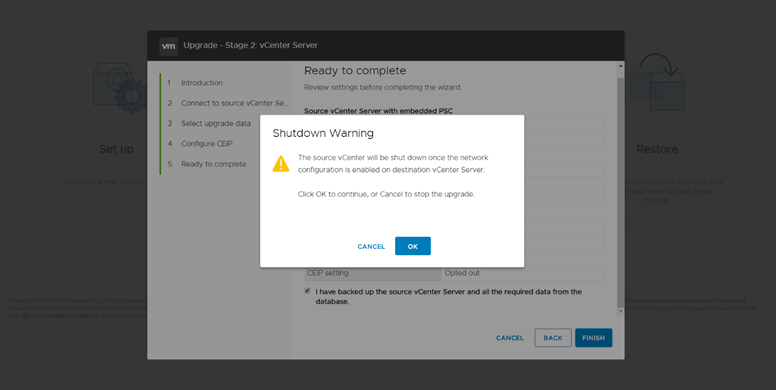
Confirm the Summary information and click finish to start the STAGE 2 Configuration. Please note that once you click Next you can’t stop the process.
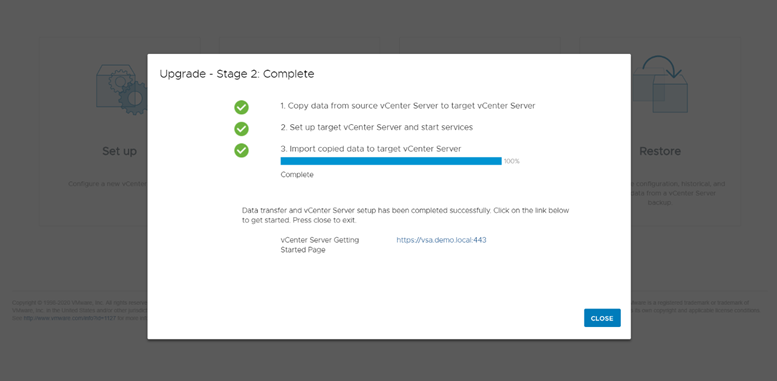
Process will take upto 10-15 mins to finish the deployment.
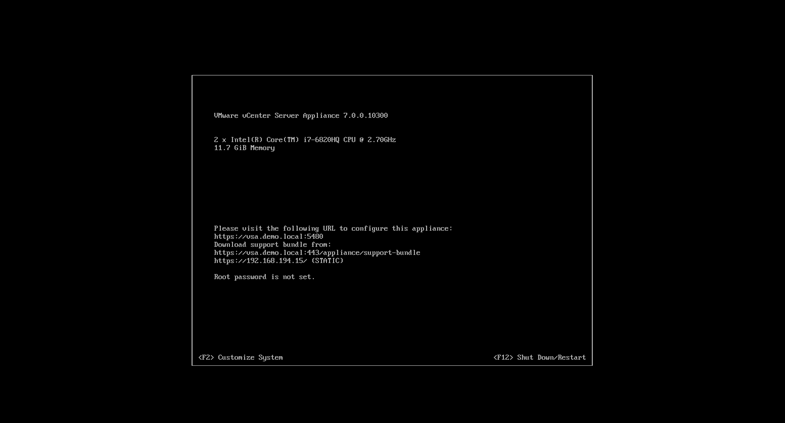
Below will the URLs to access the appliance.
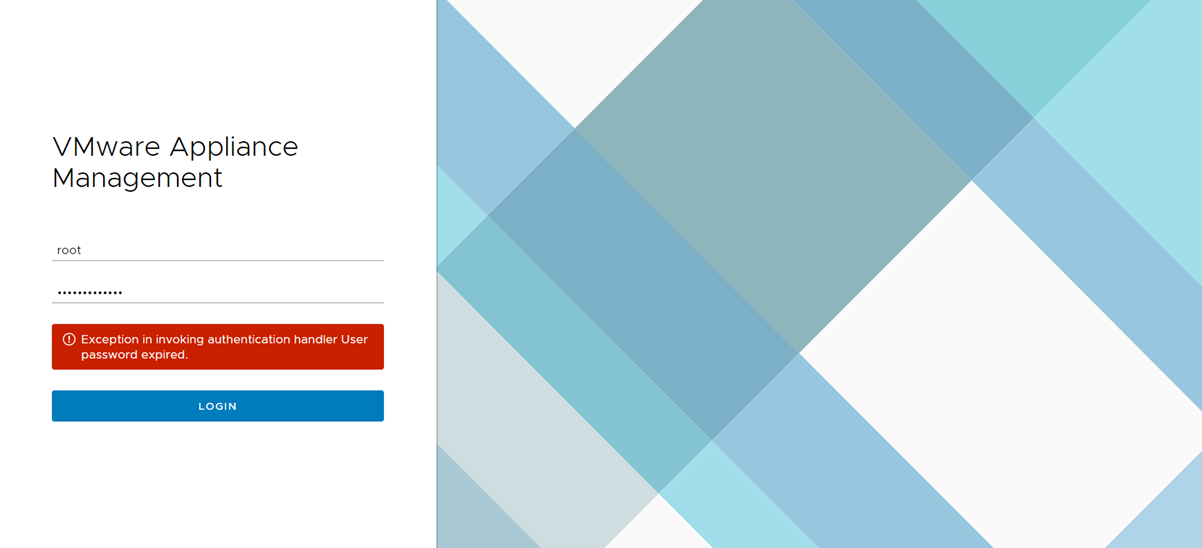
Appliance Management:
https://appliance_ip/hostname:5480
VCenter
https://appliance_ip/hostname:443